CORNING Matribot Bioprinter Інструкція з експлуатації - Сторінка 5
Переглянути онлайн або завантажити pdf Інструкція з експлуатації для Лабораторне обладнання CORNING Matribot Bioprinter. CORNING Matribot Bioprinter 8 сторінок. Demonstration equipment
Також для CORNING Matribot Bioprinter: Посібник із швидкого старту (2 сторінок)
Preparing to Return the Corning® Matribot® Bioprinter
Returning the Corning Matribot Bioprinter to Default Settings
Please return the Corning Matribot bioprinter to default settings by navigating on the LCD interface. First, navigate to the Prepare Bioprint
menu and select Home Axes to return the printhead to the home position. Then, navigate to the Utilities menu and confirm that SD print
is not enabled.
Cleaning or Sanitizing the Corning Matribot Bioprinter
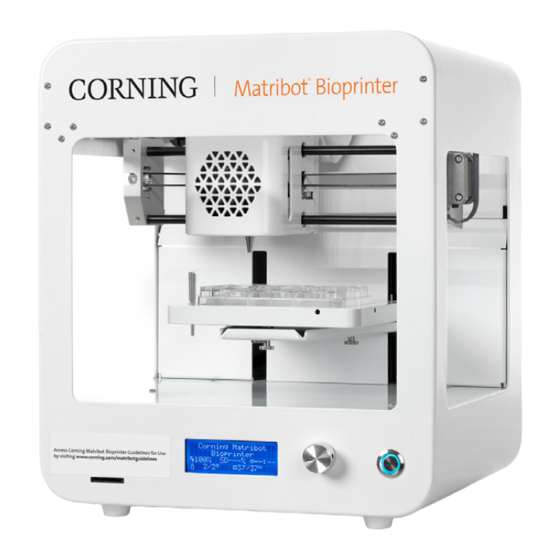
Before cleaning, turn off and unplug the Corning Matribot Bioprinter. The Corning Matribot Bioprinter has a chemical-resistant coating.
Clean or sanitize it with >70% (v/v) ethanol. Spray the surface, and wipe it with a soft cloth while wearing gloves to avoid direct contact
with the unit.
After using ethanol, wait at least 60 seconds before starting the Corning Matribot Bioprinter. Ethanol is flammable, and this
ensures that all remaining ethanol vapor is ventilated. Failure to wait can cause equipment damage and personal injury.
Task
Clean the gantry system
Clean exterior (sides, back, front, top)
Clean LCD screen
Clean printbed
Clean printhead
Repacking the Corning Matribot Bioprinter
1. Unplug the power supply and outlet cord as well as the USB cable from the Corning Matribot bioprinter. Remove any attached thermal
insulators from the cooling block, detach the surface probe from its storage magnet, and eject the SD card if in use.
2. Return all items to the electrical supply box (smaller white box), confirming that the following items have been placed inside the
original packaging:
• [1x] 24V Power supply
• [2x] Power cord
• [1x] USB cable A male to B male 1.83m
• [1x] SD card, 32GB, SDHC
• [1x] 384-well microplate nozzle thermal insulator
• [1x] Standard nozzle thermal insulator
• [1x] Surface probe
• [1x] Toolkit for preventive maintenance (3 hex keys)
3. Return the empty consumable box (larger white box insert). NOTE: Remember to remove
the return shipping label from the consumables box and set aside for returning the unit
once the demo is complete.
Action
Remove any dirt that is on the rods or the lead screw
with a clean, lint-free rag, or by using your finger (with
gloves on).
Clean the surface with a cloth and ethanol >70% (v/v).
Clean carefully with a smooth cloth and without using
heavy solvents.
Clean the printbed body with a smooth cloth and
ethanol >70% (v/v). Pay special attention to the auto-
calibration pad. If needed, the pad can be detached for a
thorough cleaning.
Clean the printhead body with a smooth cloth to remove
any dust and debris. Check the fan of the printhead for
residues or accumulated dirt.
4