E-Service Nayax Посібник з монтажу - Сторінка 11
Переглянути онлайн або завантажити pdf Посібник з монтажу для Платіжний термінал E-Service Nayax. E-Service Nayax 18 сторінок.
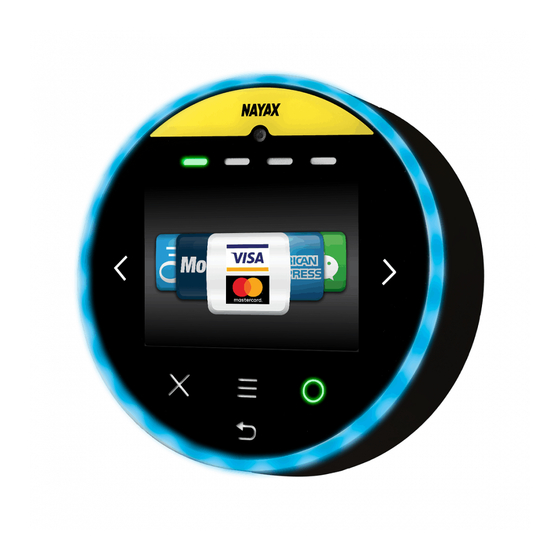
Figure 17
6.
Position the AMIT 3 inside the machine and connect it to the VPOS
Place the AMIT inside the machine, using its magnetic back to attach it to a metal surface. Next, plug the
VPOS/Onyx connection cable into the AMIT port marked 'VPOS', as in figure 18.
Figure 19
7.
Connect the Nayax Interface Board to the AMIT 3
Plug the the I/O cable into the AMIT's port marked 'I/O', as seen in figure 20.
If the Interface Board is not already connected to the I/O cable, please refer to page 4 for detailed
instructions on how to wire them together.
Nayax Installation Guide
AMIT 3 mounting guide
Figure 18
Figure 20
11