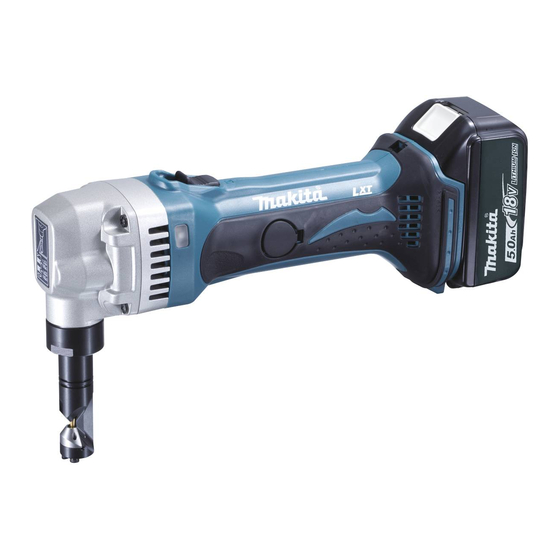
Makita BJN161 Інструкція з експлуатації - Сторінка 8
Переглянути онлайн або завантажити pdf Інструкція з експлуатації для Електроінструмент Makita BJN161. Makita BJN161 13 сторінок. Cordless nibbler
Також для Makita BJN161: Інструкція з експлуатації (11 сторінок), Технічна інформація (8 сторінок), Інструкція з експлуатації (13 сторінок), Інструкція з експлуатації (12 сторінок)

Cutting method
013278
Hold the tool so that the cutting head is at a right angle
(90°) to the workpiece being cut. Move the tool gently in
the cutting direction.
Cutouts
013279
Cutouts can be done by first opening a round hole over 21
mm in diameter which the cutting head can be inserted into.
Cutting the corrugated or trapezoidal sheet metals
1
3
4
1. From the top view
2. Cutting at an angle to grooves
3. Cutting perpendicular to grooves
4. From the side view
5. Corrugated or trapezoidal sheet metal
013280
Set the die position so that the die faces the cutting
direction
either
when
perpendicular go grooves in corrugated or trapezoidal
sheet metals.
2
5
cutting
at
an
angle
1
004791
Always hold the tool body parallel to the grooves with
the cutting head at a right angle (90°) to the cutting
surface as shown in the figure.
MAINTENANCE
CAUTION:
Always be sure that the tool is switched off and the
•
battery cartridge is removed before attempting to
perform inspection or maintenance.
Never use gasoline, benzine, thinner, alcohol or
•
the like. Discoloration, deformation or cracks may
result.
Replacing carbon brushes
001145
Remove and check the carbon brushes regularly.
Replace when they wear down to the limit mark. Keep
the carbon brushes clean and free to slip in the holders.
Both carbon brushes should be replaced at the same
time. Use only identical carbon brushes.
Insert the top end of slotted bit screwdriver into the
notch in the tool and remove the holder cap cover by
lifting it up.
1
3
013281
or
Use a screwdriver to remove the brush holder caps.
Take out the worn carbon brushes, insert the new ones
and secure the brush holder caps.
8
1. From the side
2
view
2. Cutting head
should be at a
right angle
(90 ) to cutting
surface.
1. Limit mark
1
1. Holder cap
2
cover
2. Notch
3. Screwdriver
