KitchenAid Convection Oven Інструкція з монтажу Посібник з монтажу - Сторінка 5
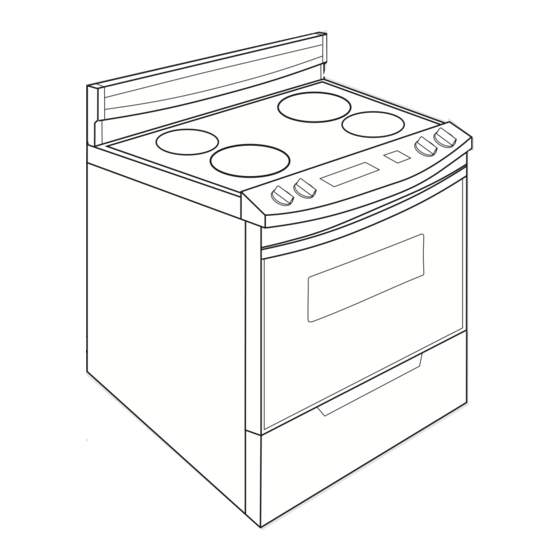
Переглянути онлайн або завантажити pdf Інструкція з монтажу Посібник з монтажу для Духовка. KitchenAid Convection Oven. KitchenAid Convection Oven 13 сторінок. 30" electric range with self-cleaning thermal/convection oven, freestanding & slide-in range
Now start...
WARNING
Excessive Weight Hazard
Use two or more people to move and
install range.
Failure to do so can result in back or
other injury.
1.
Put on safety glasses and gloves.
Remove shipping materials, tape and
protective film from range. Keep
cardboard bottom and shipping base
under range. Remove oven racks and
parts package from inside oven.
2.
Take four
cardboard corners
from the carton.
Stack one cardboard corner on
top of another. Repeat with other two
corners. Place them lengthwise on the
floor behind the range — to support the
range when it is laid on its back. Firmly
grasp the range and gently lay it on its
back on the cardboard corners.
3.
Pull cardboard shipping base
firmly to remove.
4.
Use an
adjustable
wrench to
loosen the
leveling legs four complete turns.
5.
Place cardboard or hardboard in
front of range. Stand range back up onto
cardboard or hardboard.
WARNING
Tip Over Hazard
A child or adult can tip the range
and be killed.
Connect anti-tip bracket to rear
range foot.
Reconnect the anti-tip bracket, if
the range is moved.
Failure to follow these instructions
can result in death or serious
burns to children and adults.
Contact a qualified floor covering installer
for the best procedure for drilling
mounting holes through your type floor
covering.
6.
Use the anti-tip bracket template to
install the anti-tip bracket.
Anti-tip bracket must be anchored
securely to the sub-floor.
Depending on the thickness of your
flooring, longer screws may be necessary
to anchor the bracket to the sub-floor.
Longer screws are available from your
local hardware store.
Check that range is on cardboard
shipping base to protect floor covering.
Electrical connection
terminal
block cover
7.
Remove the terminal block cover
located on the back of range.
knockout
opening for
40 amp
power
supply cord
8.
Depending on your electrical
supply, make the four-wire or three-wire
connection to the range following the
"Power supply cord method" or "Direct
wire method" instructions for copper
wire or aluminum wire depending on the
connection needed.
knockout
opening
for power
supply
cable
5