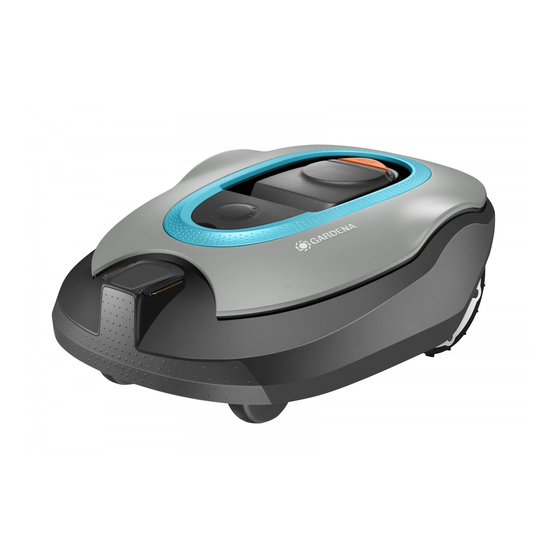
Gardena 4050-68 Короткий посібник - Сторінка 2
Переглянути онлайн або завантажити pdf Короткий посібник для Газонокосарка Gardena 4050-68. Gardena 4050-68 4 сторінки.
Також для Gardena 4050-68: Короткий посібник (4 сторінок)

GETTING STARTED WITH
THE GARDENA ROBOTIC LAWNMOWER
1. Placement of and connecting the charging
station
See chapter 3.2 in the Operator's Manual
1. Place the charging station at a central position in the work area, with a lot of open
space in front of the charging station and on a relatively horizontal surface.
2. Connect the power supply's low voltage cable to the charging station and the power
supply.
3. Connect the power supply to a 100-240 V wall socket.
2. Charging the battery and
placement of the boundary wire
See chapter 3.3 and 3.4 in the Operator's Manual
1. Place the robotic lawnmower in the charging station to charge
the battery while the boundary wire is laid. Set the main
switch to position 1.
2. Run the boundary wire ensuring it forms a loop around the
work area.
3. Make an eyelet at the point where the guide wire will be
connected later (see point 3.4).
1. Main switch
2. STOP button
3. LED for function check of the
boundary and guide wires
4. Display
5. Keypad
10 cm / 4"
30 cm / 12
"
2
1
3
2
0 cm / 0"
3
4
1
10 cm / 4"
35 cm / 14"
5
Charging station
