Gardena 4000/5 Інструкція з експлуатації Посібник з експлуатації - Сторінка 6

Переглянути онлайн або завантажити pdf Інструкція з експлуатації Посібник з експлуатації для Водяний насос Gardena 4000/5. Gardena 4000/5 17 сторінок. Garden pump
Також для Gardena 4000/5: Інструкція з експлуатації Посібник з експлуатації (10 сторінок), Інструкція з експлуатації Посібник з експлуатації (12 сторінок), Посібник оператора (14 сторінок), Посібник оператора (11 сторінок), Посібник оператора (10 сторінок), Інструкція з експлуатації Посібник з експлуатації (18 сторінок), Посібник оператора (10 сторінок), Інструкція з експлуатації Посібник з експлуатації (19 сторінок), Інструкція з експлуатації Посібник з експлуатації (13 сторінок), Інструкція з експлуатації Посібник з експлуатації (17 сторінок)
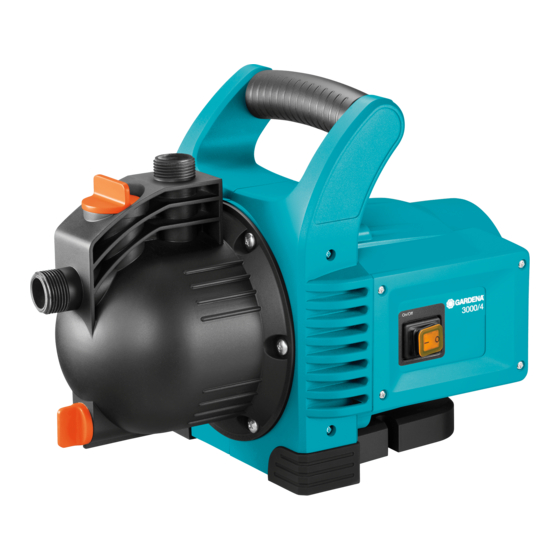
Gardena 4000/5 Інструкція з експлуатації Посібник з експлуатації
Connect hose to output side:
k
©
6 b
©
©

5. Operation

Electronic Pressure Pump
turn on:
©
©
Priming cycle
18
The hose can be connected either to the delivery side 33.3 mm
(G 1)-thread of the 120° swivelling connection k and/or of the
horizontal connection
1. Seal the connection not required with the sealing cap
provided.
2. Connect delivery hose
TIP:
©
Use pressure-tight hoses, such as e.g. the GARDENA Profi Plus
hose with 19 mm (3/4") diameter, art. no. 4432 / 8452, in conjunction
with the GARDENA fast connection threaded connector with a
33.3 mm (G1) internal thread art. no. 7109 and the GARDENA
suction and high pressure connector, art. no. 7120, for 19 mm
(3/4") hoses and a GARDENA hose clamp art. no. 7192.
Never use suction hoses.
Danger ! Electric shock !
Risk of injury due to electric shock.
➔ Unplug the pump from the mains before filling.
©
Warning ! Pump running dry.
➔ Fill the pump to the overflow (approx. 2 to
1. Unscrew the cover
2. Turn rotary switch
The integrated non-return valve will open.
3. Open any shut-off devices in the delivery line (watering
accessories, water stop, etc.) so that air can escape before the
priming procedure begins.
4. Empty any water remaining in the delivery hose so that the air
can escape during filling and priming.
5. Fill slowly with water via the filler connection
overflows (approx. 2 to 3 l).
6. Close cover
The maximum self-priming head of 9 m (art. 1769 8 m) is only
achieved if the pump is filled until it overflows via the filler connection
and the delivery hose is held high enough so that no water can
escape via the delivery hose. It is not necessary to hold up the
delivery hose if filled suction hoses with backflow preventer are
used.
7. Insert mains plug into a 240 V / 50 Hz AC socket.
Warning! The pump will start immediately!
During the priming cycle (01) the pump will try to draw in
water for 4 minutes.
.
to the delivery side connection.
3 litres) with the water each time before the
pump is switched on.
of the filter chamber by hand.
to START.
of the filter chamber by hand again.
6b
until it