Gardena EasyCut 400 Інструкція з експлуатації Посібник з експлуатації - Сторінка 3

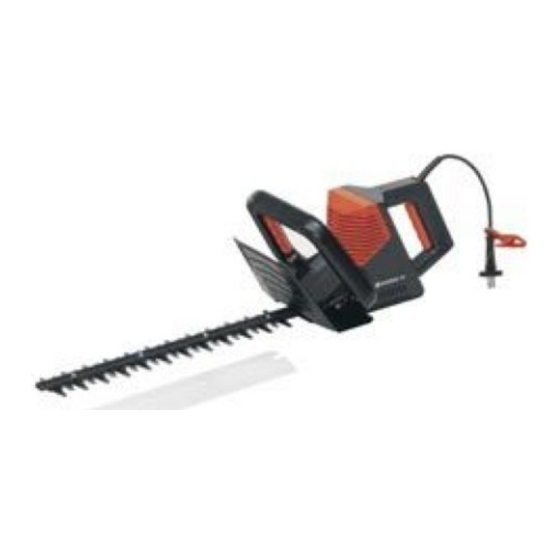
Переглянути онлайн або завантажити pdf Інструкція з експлуатації Посібник з експлуатації для Тример Gardena EasyCut 400. Gardena EasyCut 400 10 сторінок. Gardena electric hedge trimmer operating instructions
Також для Gardena EasyCut 400: Інструкція з експлуатації Посібник з експлуатації (10 сторінок), Інструкція з експлуатації Посібник з експлуатації (14 сторінок), Інструкція з експлуатації Посібник з експлуатації (10 сторінок), Інструкція з експлуатації Посібник з експлуатації (7 сторінок), Інструкція з експлуатації Посібник з експлуатації (10 сторінок), Інструкція з експлуатації Посібник з експлуатації (15 сторінок), Посібник з експлуатації (французькою мовою) (8 сторінок)

Gardena EasyCut 400 Інструкція з експлуатації Посібник з експлуатації
Proper use / responsibility:
DANGER!
Take note that the rotating blade cylinder
could cause injuries.
v Never place your hands or feet on
or under moving parts.
Do not use the lawnmower while people,
especially children, or animals are nearby.
The operator is liable for damages.
The safety distance between the blade cylinder
and the operator that is created by the guiding
spar is to be always maintained.

3. Assembly

1
6
4
3
1. Insert lower upright holder
holder
2. Insert upper part of upright
holder
3. Insert both lower uprights
in lower upright holder
4. Insert threaded rod
through upright holder
5. Screw clamping nut
6. Insert both lower uprights
2
5
(pressing rods together slightly) until bolts
holder bearings
Tip:
Allow to engage first on one side, then on the other.
When mowing embankments and slopes,
special care must be taken:
v Make sure you always keep a safe distance
and wear shoes with a nonslip sole.
Always cut diagonally to the slope.
Take special care when moving backwards
and when pulling the lawn mower.
Danger of stumbling!
If the cutting tools or the lawnmower run into
an obstruction and / or solid objects, the lawn
mower should be properly and thoroughly
inspected.
v Only work when visibility is good.
Never leave the lawnmower unattended.
If your work is interrupted, store the mower
in a safe place.
4
(already preassembled).
2
1
.
2
up to stop from underneath
3
.
4
on side with square hole right
5
.
2
onto threaded rod
6
into upright holders
3
engage.
7
3
into upper upright
up to stop in upper upright
.
5
7
in upright
8
3
8
7
9