Gardena 4000/5 Інструкція з експлуатації Посібник з експлуатації - Сторінка 11

Переглянути онлайн або завантажити pdf Інструкція з експлуатації Посібник з експлуатації для Газонна та садова техніка Gardena 4000/5. Gardena 4000/5 18 сторінок. Garden pump
Також для Gardena 4000/5: Інструкція з експлуатації Посібник з експлуатації (10 сторінок), Інструкція з експлуатації Посібник з експлуатації (17 сторінок), Інструкція з експлуатації Посібник з експлуатації (12 сторінок), Посібник оператора (14 сторінок), Посібник оператора (11 сторінок), Посібник оператора (10 сторінок), Посібник оператора (10 сторінок), Інструкція з експлуатації Посібник з експлуатації (19 сторінок), Інструкція з експлуатації Посібник з експлуатації (13 сторінок), Інструкція з експлуатації Посібник з експлуатації (17 сторінок)
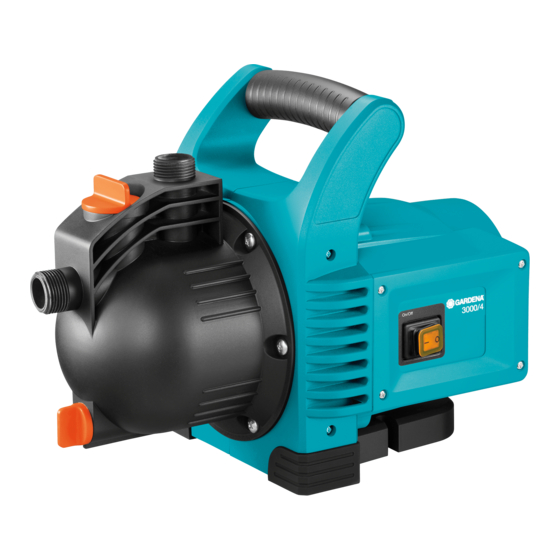
Gardena 4000/5 Інструкція з експлуатації Посібник з експлуатації
Cleaning the Integrated Filter
Cleaning the Integrated Back-Flow Valve
Always remove the mains plugs before working on the
pump.
Set or leave the switch on RUN.
.
If necessary, close the shut-off device on the inlet side of the
.
pump.
Unscrew the filter lid by turning anti-clockwise.
.
Remove the filter unit by pulling vertically upwards.
.
Hold the container and remove
.
the filter from the bayonet
socket by turning anti-clock-
wise.
Rinse the container under run-
.
ning water and clean the filter
using a soft brush, for example.
Reassemble the container-
.
filter unit in reverse order.
Insert the cleaned filter unit
.
into the pump.
Screw on the filter lid until tight.
.
Always remove the mains plugs
before working on the pump.
Set or leave the switch on RUN.
.
Ensure that the delivery side is de-
.
A
pressurised, for example, by opening
the consumers.
Close any shut-off devices on the inlet and
.
delivery side.
Loosen the screw by turning it anti-clockwise
.
until you can push the holder upwards and
backwards into opening position.
Remove the lid of the integrated back-flow valve by turning
.
anti-clockwise.
Remove the valve body and rinse under clean running water.
.
After cleaning, replace the valve body centrally in the correct
.
position (cone point downwards).
Screw on the lid until tight.
.
Push the holder forwards and position it in its original position.
.
Then tighten the screw again by turning it clockwise.
23