Avaya IP Office 9611 Посібник користувача - Сторінка 3
Переглянути онлайн або завантажити pdf Посібник користувача для Телефон Avaya IP Office 9611. Avaya IP Office 9611 11 сторінок. Duke farms
Також для Avaya IP Office 9611: Короткий довідник (5 сторінок), Посібник користувача (4 сторінок), Посібник користувача (2 сторінок), Короткий посібник (11 сторінок), Міні-мануал (8 сторінок)
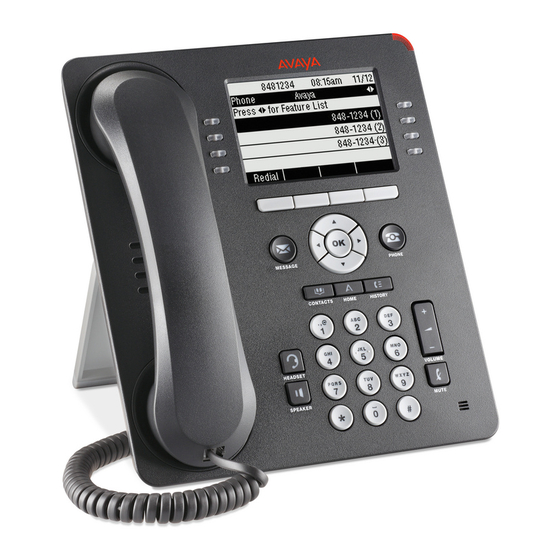
Call Settings
To reach the Call Settings menu, press
Press the Line button next to Options and Settings then Call Settings.
To change a menu option in this section, press the Line button that corresponds to
that feature to toggle between the available choices.
Go to Phone Screen on Calling
When set to "Yes", this feature will automatically take you back to the
phone screen upon placing a call.
Go to Phone Screen on Answer
When set to "Yes", this feature will automatically take you back to the
phone screen upon answering a call.
Display Call Timers
By setting this feature to "Yes", you can turn the call timers on and your
display will run a call timer for each call you place or receive.
Redial
By selecting "List" in this section, your Redial button will now list the last
six calls you placed and you can choose which call to redial by pressing
the corresponding Line button.
Visual Alerting
When set to "Yes", the Voice Mail Indicator on the top right side of the
phone will flash each time your phone rings.
Audio Path
Pressing the Line button corresponding to the Audio Path feature you
can toggle between "Speaker" and Headset. (Default is "Speaker")
Screen and Sound Options
To reach the Screen and Sound Options menu press
Press the Line button next to
Options and Set-
Sound Options.
To change a menu option in this section, press the Line button that corresponds
to that feature. (You may also use
Brightness
Press the [Change] softkey on the bottom of your display to change the
brightness on your display screen. Using
level.
Contrast
Press the [Change] softkey on the bottom of your display to change the
Contrast level on your display screen. Using the Right and Left Naviga-
tion Arrows, adjust the Contrast level.
Personalized Ringing
1. To Change your Ring Pattern
2. Press Change or OK to see a list of the available ring patterns.
3. Select a ring pattern to listen to it.
4. Press Play to hear it again.
5. Press Save to make it your ring pattern.
Language
If administered, you may change the display language on your telephone
set.
Button Clicks
Pressing the corresponding Line button will allow you to turn the Button
Click Sounds "On" or "Off".
Error Tones
Pressing the corresponding Line button will allow you to turn the Error
Tones "On" or "Off".
Options and Settings
tings
to scroll through the menu items.)
, adjust the Brightness
w w w . c o n s o l t e c h . c o m
Application Options
To reach the Screen and Sound Options menu, press
Press the Line button next to
To change a menu option in this section, press the Line button that corresponds
to that feature. (You may also use
Call Log
Pressing the corresponding Line button will allow you to turn your Call
Log "On" or "Off".
Log Bridged Calls
Pressing the corresponding Line button will allow you to either include or
exclude calls coming into your Call Log from a Bridged Line Appearance.
(This may not apply to your telephone)
Personalize Labels
1. Select Personalize Labels
2. Press Change or OK.
3. Using the
label you wish to edit.
4. Press Edit.
5. Using your dialpad, edit the label. Pressing the "2" on your dialpad displays
the letter "A." Pressing the 2 key again replaces the A with a "B," pressing it
again replaces the B with a "C" and pressing it again replaces the C with a "2;"
pressing it again redisplays the letter "A," and so on. Pressing a different key
moves the cursor one position to the right and displays the first alphabetic
character associated with that key. Repeat this key press/entry process to
enter the rest of the party's name.
6. Press Clear to clear all text fields and start over.
7. Press Save.
Restore Default Labels
You may revert back to the default button labels by pressing Avaya
Menu
Default Button Label .
Screen and
Options and Settings
to scroll through the menu items.)
scroll to the feature button you wish to label and select the
Options & Settings
Application Settings
Application Options.
Restore