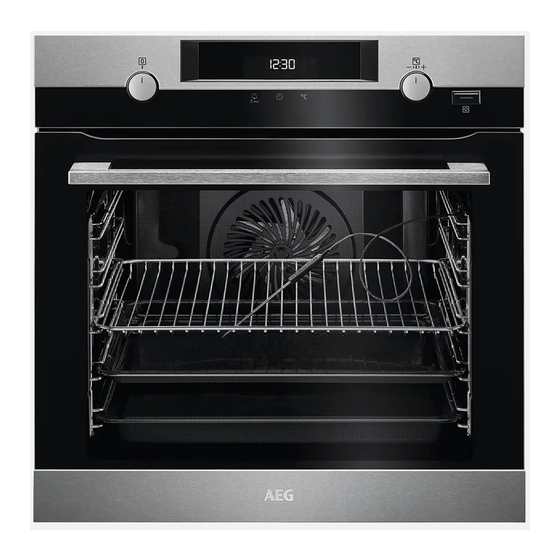
AEG BCK556220M Посібник користувача - Сторінка 33
Переглянути онлайн або завантажити pdf Посібник користувача для Духовка. AEG BCK556220M. AEG BCK556220M 40 сторінок.
Також для AEG BCK556220M: Посібник користувача (44 сторінок), Посібник користувача (48 сторінок)

Spots or discolouration of the catalytic
surface have no effect on catalytic
properties.
10.6 Cleaning reminder
As a reminder that catalytic cleaning is
necessary, CATA flashes in the display
for 10 seconds after each activation and
deactivation of the oven.
The cleaning reminder goes out:
• after the end of the Catalysis function.
• if you press
same time.
10.7 Oven ceiling
WARNING!
Deactivate the appliance
before you remove the
heating element. Make sure
that the appliance is cold.
There is a risk of burns.
Remove the shelf supports.
You can fold down the heating element
on the oven ceiling to clean the oven
ceiling easily.
1. Hold the heating element with two
hands at the front.
2. Pull it forwards against the spring
pressure and out of two holders.
The heating element folds down.
3. Clean the oven ceiling.
4. Install the heating element in the
opposite sequence.
and
at the
Install the heating element
correctly above the supports
on the inner walls of the
appliance.
5. Install the shelf supports.
10.8 Removing and installing
the door
You can remove the door and the
internal glass panels to clean it. The
number of glass panels is different for
different models.
WARNING!
Be careful when you remove
the door from the appliance.
The door is heavy.
1. Open the door fully.
2. Fully press the clamping levers (A) on
the two door hinges.
A
3. Close the oven door to the first
opening position (approximately 70°
angle).
4. Hold the door with one hand on each
side and pull it away from the
appliance at an upwards angle.
5. Put the door with the outer side
down on a soft cloth on a stable
surface. This is to prevent scratches.
6. Hold the door trim (B) on the top
edge of the door at the two sides
and push inwards to release the clip
seal.
2
B
7. Pull the door trim to the front to
remove it.
ENGLISH
33
A
1
