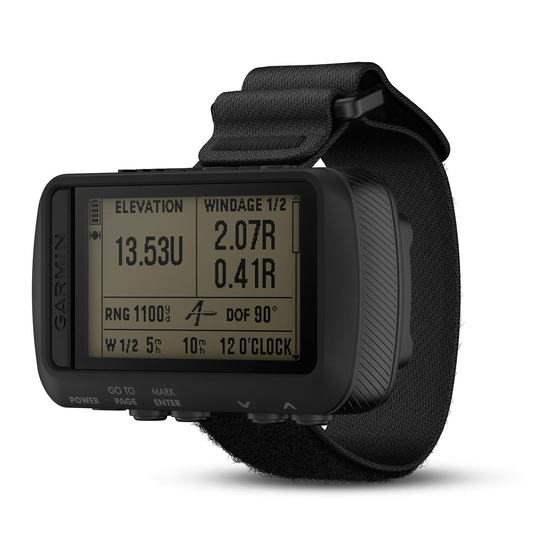
Garmin FORETREX 601 BALLISTIC EDITION Посібник користувача - Сторінка 7
Переглянути онлайн або завантажити pdf Посібник користувача для Дивись. Garmin FORETREX 601 BALLISTIC EDITION. Garmin FORETREX 601 BALLISTIC EDITION 18 сторінок. Ballistic edition
Також для Garmin FORETREX 601 BALLISTIC EDITION: Посібник користувача (30 сторінок)

- 1. Table of Contents
- 1. Introduction
- 1. Status Icons
- 2. Waypoints, Routes, and Tracks
- 2. Creating a Waypoint
- 2. Viewing Track Details
- 2. Customizing the Range Card Fields
- 2. Editing the Muzzle Velocity and Temperature Table
- 2. Jumpmaster
- 3. Device Information
- 3. Viewing Device Information
- 4. Troubleshooting
- 5. Appendix
- 6. Appendix
- 6. Applied Ballistics Glossary of Terms
- 7. Index
Creating a Waypoint
You can save your current location as a waypoint.
1
Hold MARK.
2
If necessary, select
or
latitude, or longitude.
3
Select OK?.
Navigating to a Waypoint
1
Hold GOTO.
2
Select a waypoint.
Stopping Navigation
From the map or compass page, select ENTER > STOP
NAVIGATION.
Measuring the Distance Between Two Waypoints
You can measure the distance between two locations.
1
From the map page, select ENTER > MEASURE
DISTANCE.
2
Select FROM:, and select a starting waypoint.
3
Select TO:, and select an ending waypoint.
4
Select ESTIMATED SPEED:.
5
Select ENTER to select a digit.
6
Select
or
to edit the speed.
7
Select OK?.
The total distance between the two points and the estimated
travel time appear.
Editing a Waypoint
1
From the menu page, select WAYPOINTS > LIST ALL.
2
Select a waypoint.
3
Select
or
to scroll through the symbol, elevation,
latitude, and longitude.
4
Select ENTER to edit the symbol, elevation, latitude, or
longitude.
5
Select an option:
• To change the symbol, select the waypoint symbol from
the list.
• To change the elevation, latitude, or longitude, follow the
on-screen instructions.
Projecting a Waypoint
You can create a new location by projecting the distance and
bearing from a marked location to a new location.
1
From the menu page, select WAYPOINTS > LIST ALL.
2
Select a waypoint.
3
Select OPTIONS > PROJECT.
4
Enter the distance.
5
Enter the bearing.
6
Select OK?.
Deleting a Waypoint
1
From the menu page, select WAYPOINTS > LIST ALL.
2
Select a waypoint.
3
Select DELETE > YES.
Deleting All Waypoints
From the menu page, select SETUP > RESET > DELETE
ALL WAYPOINTS > YES.
Viewing Celestial Data and Almanacs
You can view daily almanac information for the sun and moon,
and hunting and fishing.
1
From the menu page, select WAYPOINTS > LIST ALL.
Waypoints, Routes, and Tracks
to change the symbol, elevation,
2
Select a waypoint.
3
Select OPTIONS.
4
Select an option:
• To view the predicted best dates and times for hunting
and fishing at your current location, select HUNT/FISH.
• To view the sunrise, sunset, moonrise, moonset, and
moon phase for a specific date, select SUN/MOON.
5
If necessary, select ENTER to view a different day.
Viewing the Nearest Waypoints
You can view a list of waypoints nearest to your current location.
From the menu page, select WAYPOINTS > NEAREST.
Routes
A route is a sequence of waypoints or locations that leads you to
your final destination.
Creating and Navigating a Route
1
From the menu page, select ROUTES > CREATE NEW.
2
Select ENTER to view the list of saved waypoints.
3
Select a waypoint to add to the route.
4
Repeat steps 2 and 3 until the route is complete.
5
Select FOLLOW.
6
Select a starting point for navigation.
Navigation information appears.
Viewing Saved Routes
1
From the menu page, select ROUTES > LIST ALL.
2
Select a route.
Deleting All Routes
From the menu page, select ROUTES > DELETE ALL >
YES.
Tracks
A track is a recording of your path. The track log contains
information about points along the recorded path, including time,
location, and elevation for each point.
Recording a Track
The device records a track log automatically while you are
moving. You can save tracks and navigate to them at another
time.
1
From the menu page, select TRACKS > SAVE TRACK.
2
Select
or
to set a beginning point.
3
Select ENTER.
4
Select
or
to set an ending point.
5
Select ENTER.
6
If necessary, select ENTER to edit the track name.
Navigating a Saved Track
1
From the menu page, select TRACKS > LIST SAVED.
2
Select a track.
3
Select NAVIGATE.
Using the Pan and TracBack
While navigating, you can use the TracBack feature to navigate
back to the beginning of your activity. This can be helpful when
finding your way back to camp or the trail head.
1
From the menu page, select TRACKS > PAN &
TRACBACK.
2
To pan the track log, select
3
Select ENTER to veiw additional options.
Feature
®
or
.
3
