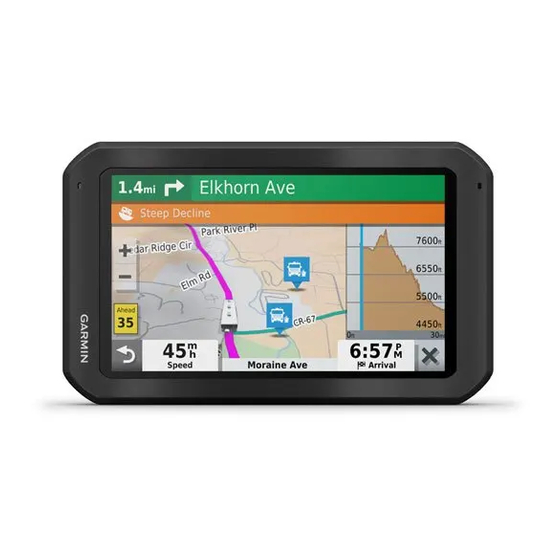
Garmin VIEO RV 851 Посібник користувача - Сторінка 34
Переглянути онлайн або завантажити pdf Посібник користувача для Автомобільна навігаційна система Garmin VIEO RV 851. Garmin VIEO RV 851 38 сторінок.
Також для Garmin VIEO RV 851: Посібник із швидкого старту (25 сторінок)

7
Follow the on-screen instructions during the update process
to finish installing updates.
For example, during the update process, the Garmin Express
application may instruct you to disconnect and reconnect
your device.
Device Care
Avoid dropping your device.
Do not store the device where prolonged exposure to extreme
temperatures can occur, because it can cause permanent
damage.
Never use a hard or sharp object to operate the touchscreen, or
damage may result.
Do not expose the device to water.
Cleaning the Touchscreen
1
Use a soft, clean, lint-free cloth.
2
If necessary, lightly dampen the cloth with water.
3
If using a dampened cloth, turn off the device and disconnect
the device from power.
4
Gently wipe the screen with the cloth.
Troubleshooting
My device is not acquiring satellite signals
• Verify the location services feature is enabled
Disabling Location Services, page
• Take your device out of parking garages and away from tall
buildings and trees.
• Remain stationary for several minutes.
My device does not connect to my phone
• Select
>
>
> Bluetooth.
The Bluetooth option must be enabled.
• Enable Bluetooth wireless technology on your phone and
bring your phone within 10 m (33 ft.) of the device.
• Verify your phone is compatible.
Go to
www.garmin.com/bluetooth
• Complete the pairing process again.
To repeat the pairing process, you must unpair your phone
and device
(Deleting a Paired Bluetooth Device, page
and complete the pairing process
Smartphone, page
11).
My phone is not listed as a Bluetooth audio
source
The Bluetooth audio source requires a separate Bluetooth
connection with your smartphone. To use your phone as a
Bluetooth media source, you must pair it separately in the Music
app
(Connecting a Compatible Bluetooth Device, page
Network Troubleshooting
If you cannot see or connect to Fusion PartyBus devices on the
network, check the following:
• Verify that only one device, either a stereo or a router, is
configured as a DHCP server.
• Verify that all Fusion PartyBus devices, network switches,
routers, and wireless access points are connected to the
network and turned on.
• Verify that wireless Fusion PartyBus devices are connected
to a wireless router or wireless access point on the network.
28
NOTICE
(Enabling or
26).
for more information.
(Pairing with Your
• If you configured static IP addresses, verify that every device
has a unique IP address, that the first three sets of numbers
in the IP addresses match, and that the subnet masks on
every device are identical.
• If you have made configuration changes that might be
causing networking issues, reset all network settings to
factory defaults.
Network Status Icons
A network-status icon is shown on some screens of the stereo.
You can refer to this table to understand the appearance of the
icon and help diagnose issues with the Fusion PartyBus network
(Network Troubleshooting, page
The stereo is configured for a wired network connection and
connected correctly to a wired network using an Ethernet cable.
The stereo is configured for a wired network connection, but cannot
detect the wired network. An Ethernet cable may not be connected
or there may be other problems with the network.
The stereo is configured as a wireless access point.
The stereo is configured as a wireless client and connected to a
wireless access point. The number of bars indicates the signal
strength.
The stereo is configured as a wireless client, but is not connected
to a wireless access point. There may be a problem with the
connection settings or with the wireless access point.
Data Management
You can store files on your device. The device has a memory
card slot for additional data storage.
NOTE: The device is not compatible with Windows
Windows NT
, and Mac
®
About Memory Cards
You can purchase memory cards from an electronics supplier,
or purchase pre-loaded Garmin mapping software
(www.garmin.com). In addition to map and data storage, the
memory card can be used to store files such as maps, images,
geocaches, routes, waypoints, and custom POIs.
Installing a Memory Card for Maps and Data
You can install a memory card to increase the storage space for
maps and other data on your device. You can purchase memory
cards from an electronics supplier, or go to
/maps
to purchase a memory card with pre-loaded Garmin
mapping software. The device supports microSD memory cards
12),
from 4 to 32 GB. Memory cards must use the FAT32 file system
format. Memory cards greater than 32 GB must be formatted
using the device
1
Locate the map and data memory card slot on your device
(Display Overview, page
2
Insert a memory card into the slot.
3
Press it in until it clicks.
Formatting the Memory Card
15).
The device requires a memory card formatted using the FAT32
file system. You can use the device to format your card using
this file system.
You must format a brand new memory card if it is not formatted
using the FAT32 file system.
NOTE: Formatting the memory card deletes all data on the card.
1
Select
>
2
Select your memory card.
3
Select > Settings > Format > ERASE & FORMAT.
4
Select Done.
28).
Appendix
OS 10.3 and earlier.
®
www.garmin.com
(Formatting the Memory Card, page
1).
>
> Storage & USB.
95, 98, Me,
®
28).
Troubleshooting
