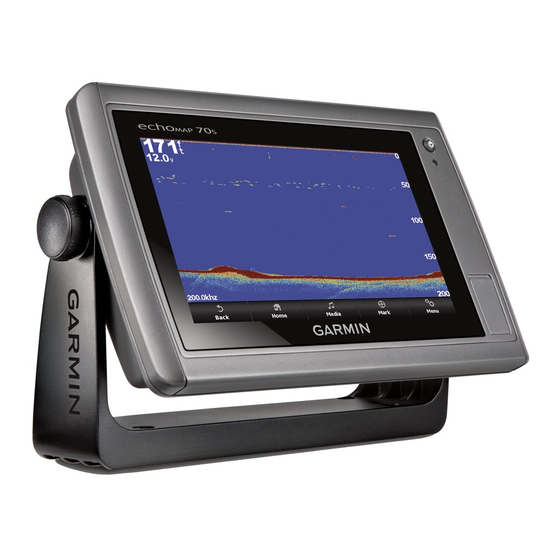
echoMAP
Installation Instructions
Important Safety Information
See the Important Safety and Product Information guide in the
product box for product warnings and other important
information.
When connecting the power cable, do not remove the in-line
fuse holder. To prevent the possibility of injury or product
damage caused by fire or overheating, the appropriate fuse
must be in place as indicated in the product specifications. In
addition, connecting the power cable without the appropriate
fuse in place voids the product warranty.
Always wear safety goggles, ear protection, and a dust mask
when drilling, cutting, or sanding.
NOTICE
When drilling or cutting, always check what is on the opposite
side of the surface.
To obtain the best performance and to avoid damage to your
boat, install the device according to these instructions.
Read all installation instructions before proceeding with the
installation. If you experience difficulty during the installation,
contact Garmin
Product Support.
®
Registering Your Device
Help us better support you by completing our online registration
today. Keep the original sales receipt, or a photocopy, in a safe
place.
1
Insert a memory card into the card slot on the chartplotter.
2
Wait a few moments.
The chartplotter creates a file named GarminDevice.xml in
the Garmin folder on the memory card.
3
Remove the memory card.
4
Insert the memory card into your computer.
5
Follow the on-screen instructions to download, install, and
open the Garmin Express
6
Select
Add a Device.
7
While the application searches, select Sign In next to Have
marine charts or devices? near the bottom of the screen.
8
Create or sign in to your Garmin account.
9
Follow the on-screen instructions to set up your vessel.
10
Select
Add.
The Garmin Express application searches the memory card
for the device information.
CHIRP
™
40/50 Series
WARNING
CAUTION
™
application.
11
Select Add Device to register the device.
When registration is complete, the Garmin Express
application searches for additional charts and chart updates
for your device.
When you add devices to the chartplotter network, repeat these
steps to register the new devices.
Software Update
You may need to update the device software when you install
the device or add an accessory to the device.
This device supports up to a 32 GB memory card, formatted to
FAT32.
Loading the New Software on a Memory Card
You must copy the software update to a memory card using a
computer that is running Windows
NOTE: You can contact Garmin customer support to order a
preloaded software update card if you do not have a computer
with Windows software.
1
Insert a memory card into the card slot on the computer.
2
Select echoMAP Series with SD Card.
3
Select Download next to echoMAP Series with SD Card.
4
Read and agree to the terms.
5
Select Download.
6
Choose a location, and select Save.
7
Double-click the downloaded file.
8
Select Next.
9
Select the drive associated with the memory card, and select
Next > Finish.
A Garmin folder containing the software update is created on
the memory card. The software update can take several minutes
to load onto the memory card.
Updating the Device Software
Before you can update the software, you must obtain a
software-update memory card or load the latest software onto a
memory card.
1
Turn on the chartplotter.
2
After the home screen appears, insert the memory card into
the card slot.
NOTE: In order for the software update instructions to
appear, the device must be fully booted before the card is
inserted.
3
Follow the on-screen instructions.
4
Wait several minutes while the software update process
completes.
5
When prompted, leave the memory card in place and restart
the chartplotter manually.
6
Remove the memory card.
NOTE: If the memory card is removed before the device
restarts fully, the software update is not complete.
Tools Needed
• Drill and drill bits
• #2 Phillips screwdriver
• Jigsaw or rotary tool
• File and sandpaper
• Marine sealant (optional)
Mounting Considerations
The device can be mounted using the included bracket, or it can
be mounted flush with the dashboard using a flush-mount kit
(may be sold separately).
software.
®

