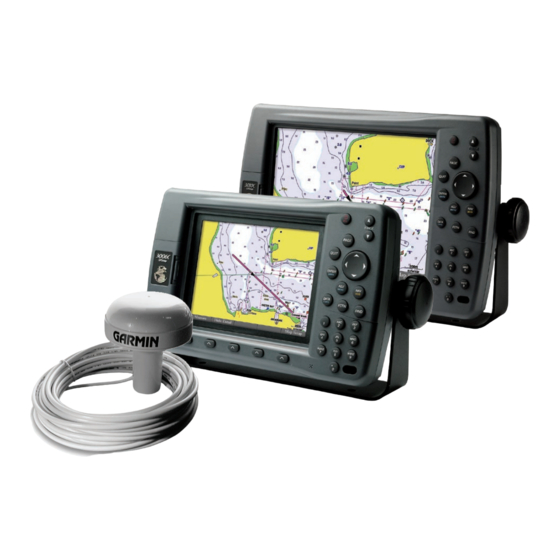
Garmin GPS 17 Series Інструкція з монтажу Посібник з монтажу - Сторінка 5
Переглянути онлайн або завантажити pdf Інструкція з монтажу Посібник з монтажу для Морська система GPS Garmin GPS 17 Series. Garmin GPS 17 Series 17 сторінок. Technical specifications
Також для Garmin GPS 17 Series: Інструкція з монтажу Посібник з монтажу (16 сторінок), Інструкція з монтажу Посібник з монтажу (19 сторінок), Технічні характеристики (37 сторінок)

Flush Mounting the GPSMAP 3005C
Tools
• Flush Mount Template
• Jig saw
• Masking tape
• Scissors
• Drill
• Drill Bits—1/8" (3 mm) and 3/8" (6 mm)
• 1/16" (2 mm) Allen (hex) wrench
• Sockets
• Hammer
• Center punch
To flush mount the GPSMAP 3005C:
1. Trim the Flush Mount Template for fit, and tape it in the preferred location.
2. Using a center punch, indent the center of each mounting hole location.
3. Using an 1/8" (3 mm) drill bit, drill the four mounting holes.
4. Using a 3/8" (6 mm) drill bit, drill a hole for a location and begin cutting the mounting surface.
5. Using the jig saw, cut the mounting surface along the inside of the line indicated on the template. Be very careful when cutting this hole,
because there is 1/8" clearance between the case molding and the mounting holes.
6. Install the four mounting studs into unit by screwing the shorter, threaded section into the back of the unit. Use a 1/16" (2 mm) Allen
Wrench to tighten the mounting studs until the stop contacts the case.
Be careful not to overtighten as this may damage the mounting stud!
The studs have a reusable thread-locking patch pre-applied from the
factory.
7. Place the unit into the cut-out of the mounting surface.
8. Place washers over the mounting studs, then thread on one hex nut per
mounting stud. Tighten all four until the unit is snug against the mounting
surface. Install and tighten the second hex nut set on all four mounting
studs to lock the first set in place.
GPSMAP 3005C FLUSH MOUNT TEMPLATE
DRILL THE 1/8" (3 mm)
MOUNTING HOLES
BEFORE CUTTING
CUT MOUNTING SURFACE ON
THE INSIDE OF THIS LINE
Be very careful when cutting. There is 1/8"
clearance between the case and the
mounting stud holes. If the cutout is tight, file
or sand the cutout to obtain the correct fit.
Drill a 3/8"
(6 mm)
hole
to start cut.
GPSMAP 3005C & GPS 17
������ ��
Flush Mounting the GPSMAP 3005C
1. Trim the Flush Mount Template for fit and tape in the desired location.
2. Using a Center Punch, indent the center of each Mounting Hole location.
3. Drill the four Mounting Holes using a 1/8" (3 mm) drill bit.
4. Drill a 3/8" (6 mm) hole for a location to begin cutting the mounting surface.
5. Cut along the inside of the indicated line. Be very careful when cutting this hole,
there is 1/8" clearance between the case molding and the Mounting Holes.
6. Install the four Mounting Studs into the unit by screwing the shorter, threaded section
into the back of the unit. Use a 1/16" (2 mm) Allen Wrench to tighten the Mounting Studs
until the stops contact the case. Do not to overtighten the studs. The studs have a factory
applied thread locking patch.
7. Position the GPSMAP 3005C in the cut out of the mounting surface.
8. Place washers over the Mounting Studs, then thread on one Hex Nut per Mounting Stud.
Tighten all four until the unit is snug against the mounting surface.
Install and tighten the second Hex Nut on all four Mounting Studs to lock the first one
in place.
Flush Mount Template
Stud
������ ��
Washer
I
NSTALLATION
PAGE
QUIT
ENTER
MARK
ADJ
NAV
MENU
MOB
DATA
CNFG
FCTN
FIND
Flush Mount
Mounting Surface
Hex Nuts
I
NSTRUCTIONS
3
