Garmin ECHOMAP Ultra Series Інструкція з монтажу - Сторінка 3
Переглянути онлайн або завантажити pdf Інструкція з монтажу для Морське обладнання Garmin ECHOMAP Ultra Series. Garmin ECHOMAP Ultra Series 4 сторінки. Marine gps chartplotters
Також для Garmin ECHOMAP Ultra Series: Інструкція з монтажу (4 сторінок)

1
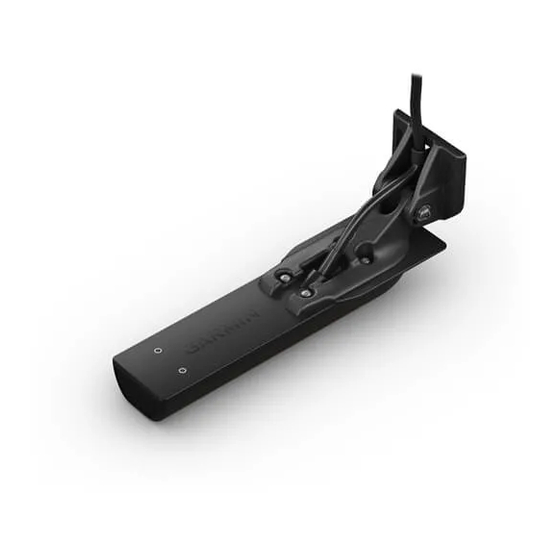
Follow the instructions provided with your transducer to
correctly install it on your boat.
2
Route the transducer cable to the back of your device, away
from sources of electrical interference.
3
Connect the transducer cable to the appropriate port on the
cradle.
NMEA 2000 Considerations
If you are connecting to an existing NMEA 2000 network,
identify the NMEA 2000 power cable. Only one NMEA 2000
power cable is required for the NMEA 2000 network to operate
properly.
A NMEA 2000 Power Isolator (010-11580-00) should be used in
installations where the existing NMEA 2000 network
manufacturer is unknown.
If you are installing a NMEA 2000 power cable, you must
connect it to the boat ignition switch or through another in-line
switch. NMEA 2000 devices will drain your battery if the NMEA
2000 power cable is connected to the battery directly.
You can connect your device to a NMEA 2000 network on your
boat to share data from NMEA 2000 compatible devices such as
sensors or a VHF radio. The necessary NMEA 2000 cables and
connectors are sold separately.
If you are unfamiliar with NMEA 2000, you should read the
"NMEA 2000 Network Fundamentals" chapter of the Technical
Reference for NMEA 2000 Products. You can find this document
using the "Manuals" link on the product page for your device at
garmin.com.
The port labeled NMEA 2000 on the cradle is used to connect it
to a standard NMEA 2000 network.
Item
Description
ECHOMAP Ultra device
NMEA 2000 drop cable
NMEA 2000 power cable
Ignition or in-line switch
12 Vdc power source
NMEA 2000 terminator or backbone cable
NMEA 2000 T-connector
NMEA 2000 terminator or backbone cable
Installing the Device in the Cradle
After the cables are connected to the cradle, you can quickly
place the device in the cradle.
1
Press the button on the release lever and lift the lever to
unlock it.
NOTICE
2
Place the base of the device in the bottom of the cradle.
3
Lift the lever.
4
Tilt the top of the device toward the cradle.
5
Press the button on the lever, and push the lever down until
the device clicks in place.
Removing the Device from the Cradle
1
Press the button on the release lever on the cradle, and pull
the lever up.
2
Tilt the device forward, and lift the device out of the cradle.
Specifications
All Models
Material
Water rating
Temperature range
Compass-safe distance
Clearance to nearest
obstruction
Input voltage
Fuse
NMEA 2000 LEN @ 9 Vdc
NMEA 2000 draw
Memory card
10-Inch Models
Dimensions (W x H x D)
Display size (W x H)
Weight
Max. power draw
Typical current draw at 12 Vdc
(RMS)
Max. current draw at 12 Vdc (RMS) 3 A
Wireless frequencies and protocols
12-Inch Models
Dimensions (W x H x D)
Display size (W x H)
Weight
Max. power draw
1
The device withstands incidental exposure to water of up to 1 m for up to 30 min.
For more information, go to www.garmin.com/waterrating.
Polycarbonate plastic
1
IEC 60529 IPX7
From -15° to 55°C (from 5° to 131°F)
65 cm (25.6 in.)
150 mm (6 in.)
From 9 to 18 Vdc
8 A
1
39 mA max.
2 microSD
card slots; 32 GB max.
®
card size
29.5 x 19.5 x 9.8 cm (11.6 x 7.7 x
3.9 in.)
21.7 x 13.6 cm (8.5 x 5.4 in.)
25.4 cm (10 in.) diagonal
1.8 kg (4.1 lb.)
34 W
2.8 A
2.4 GHz @ 17.2 dBm nominal
34.1 x 22.9 x 9.8 cm (13.4 x 9.0
x 3.9 in.)
26.1 x 16.3 cm (10.3 x 6.4 in.)
30.7 cm (12.1 in.) diagonal
2.5 kg (5.5 lb.)
34 W
3
