AEG OKO FAVORIT 3430 I Інструкція з експлуатації Посібник з експлуатації - Сторінка 30
Переглянути онлайн або завантажити pdf Інструкція з експлуатації Посібник з експлуатації для Посудомийна машина AEG OKO FAVORIT 3430 I. AEG OKO FAVORIT 3430 I 34 сторінки. Aeg dishwasher
Також для AEG OKO FAVORIT 3430 I: Інструкція з експлуатації Посібник з експлуатації (41 сторінок)
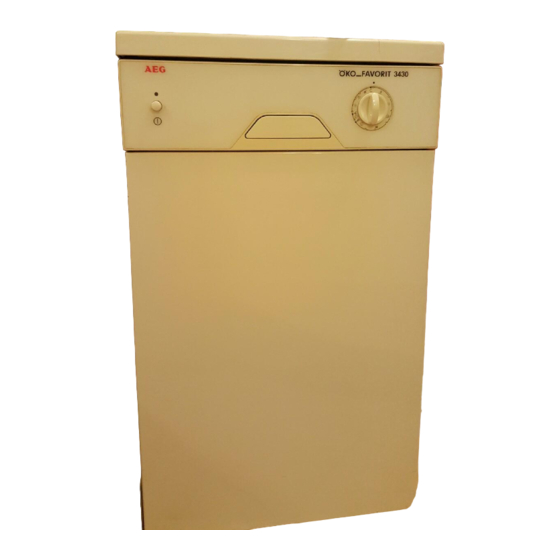
Installing
Positioning
Set the machine up as close as possible to a water tap and a connection for
waste water.
In order to ensure the door closes and seals properly, it is necessary for the
machine to stand firmly and horizontally on the floor.
Adjust the screw feet upwards and downwards until the machine stands level.
If you wish to push your appliance under a kitchen work-top, you can remove
its built-in work-top (the cover of the dishwasher). The procedure is as follows:
Loosen the two screws at the front. Then lift the work-top upwards, release it
from the rear stops, and pull it out.
Make sure, before you push the appliance into place, thAt the kitchen work-
top is protected with aluminium foil (available from the service centre) on the
underside and along its front edge.
Installation instruction are to be found on the rear side of this foil. This is the
only way of ensuring that your kitchen work-top is protected form damage
caused by the water vapour which escapes when the door is opened.
Caution
(applies only to free-standing appliances with work-top)If because of lack of
space there is no alternative to setting up the dishwasher directly next to a
gas or a coal-fired oven, as heat-insulation panel (measuring 85 x 57.5 cm)
must be fitted between the oven and the dishwasher. It must be covered with
aluminium foil on the side towards the oven.
Adapting the work-top
You can move the work-top 25 mm towards the front or the back so that it fits
exactly up against the kitchen cabinet. To do this, loosen the two fixing screws
at the front, bring the work-top into the required position, and tighten the
screws again (Fig. 21)
IN02
Fig 21
30