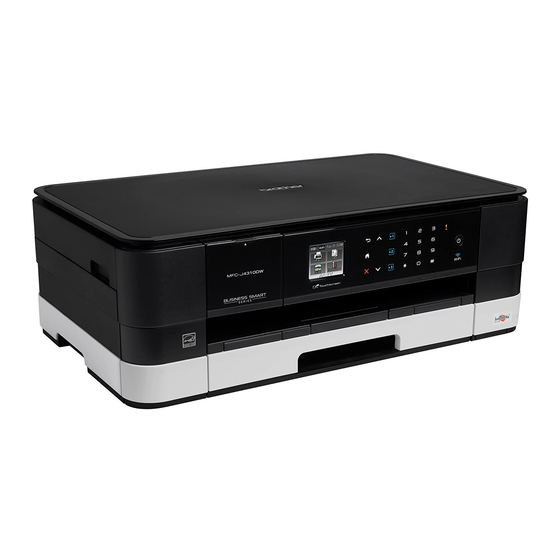
Brother Business Smart MFC-J4510dw Посібник з швидкого налаштування - Сторінка 26
Переглянути онлайн або завантажити pdf Посібник з швидкого налаштування для Принтер Brother Business Smart MFC-J4510dw. Brother Business Smart MFC-J4510dw 47 сторінок. Quick setup guide - spanish
Також для Brother Business Smart MFC-J4510dw: Посібник (36 сторінок), Посібник (22 сторінок), Посібник з безпеки продукції (17 сторінок), Посібник (13 сторінок), Посібник (22 сторінок), Посібник (18 сторінок), Посібник з швидкого налаштування (47 сторінок), Брошура та технічні характеристики (4 сторінок), Посібник з безпеки продукції (20 сторінок), Технічні характеристики (2 сторінок), Посібник з швидкого налаштування (47 сторінок), Посібник із швидкого старту (29 сторінок), Посібник з безпеки продукції (25 сторінок), (іспанською) Посібник з веб-підключення Guia De Web Connect (38 сторінок), Посібник (іспанською) (24 сторінок), (Англійська) Посібник з безпечності продукції Посібник з безпечності продукції (16 сторінок), Посібник (іспанською) (11 сторінок), (Англійська) Посібник зі швидкого налаштування (47 сторінок)

