Brother Business Smart MFC-J4510dw Посібник із швидкого старту - Сторінка 23

Переглянути онлайн або завантажити pdf Посібник із швидкого старту для Принтер Brother Business Smart MFC-J4510dw. Brother Business Smart MFC-J4510dw 29 сторінок. Quick setup guide - spanish
Також для Brother Business Smart MFC-J4510dw: Посібник (36 сторінок), Посібник (22 сторінок), Посібник з безпеки продукції (17 сторінок), Посібник (13 сторінок), Посібник (22 сторінок), Посібник з швидкого налаштування (47 сторінок), Посібник (18 сторінок), Посібник з швидкого налаштування (47 сторінок), Брошура та технічні характеристики (4 сторінок), Посібник з безпеки продукції (20 сторінок), Технічні характеристики (2 сторінок), Посібник з швидкого налаштування (47 сторінок), Посібник з безпеки продукції (25 сторінок), (іспанською) Посібник з веб-підключення Guia De Web Connect (38 сторінок), Посібник (іспанською) (24 сторінок), (Англійська) Посібник з безпечності продукції Посібник з безпечності продукції (16 сторінок), Посібник (іспанською) (11 сторінок), (Англійська) Посібник зі швидкого налаштування (47 сторінок)
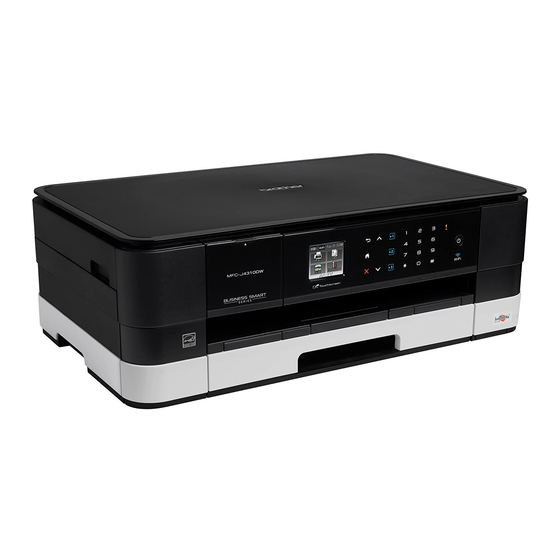
Brother Business Smart MFC-J4510dw Посібник із швидкого старту

Wireless Network

Install the drivers & software
®
(Windows
XP Home/XP Professional/Windows Vista
19
Before you install
Make sure that your computer is ON and you are
logged on with Administrator rights.
20
Install MFL-Pro Suite
a
Put the supplied installation CD-ROM into your
CD-ROM drive. Follow the on-screen
instructions.
b
The CD-ROM Top menu will appear.
Click Install MFL-Pro Suite and click Yes if
you accept the license agreements. Follow the
on-screen instructions.
c
Choose Wireless Network Connection, and
then click Next.
d
When Firewall/AntiVirus detected screen
appears, choose Change the Firewall port
settings to enable network connection and
continue with the installation.
(Recommended) and click Next.
If you are using a firewall other than the
®
Windows
Firewall, see the instructions
provided with your firewall software for
information on how to add the following
network ports.
For network scanning, add UDP port 54925.
For network PC-Fax receiving, add UDP port
54926.
If you still have trouble with your network
connection, add UDP ports 137 and 161.
®
®
/Windows
7)
e
Choose your machine from the list, and then
click Next.
NOTE
• If your machine is not found over the network,
confirm your settings by following the
on-screen instructions. If you encounter this
failure, go to step 17-b on page 19 and setup
the wireless connection again.
• If you are using WEP and the Touchscreen
displayed Connected but your machine is not
found on the network, make sure you entered
the WEP key correctly. The WEP key is case
sensitive.
f
The installation of the Brother drivers will
automatically start. The installation screens
appear one after another.
g
If Environmental Advice for Imaging
Equipment screen appears, click Next.
h
When the On-Line Registration screen is
displayed, follow the on-screen instructions.
Click Next.
i
If you do not want to set your machine as the
default printer, uncheck Set as Default Printer
and click Next.
®
Windows
23