Brother Business Smart MFC-J4510dw Посібник із швидкого старту - Сторінка 15

Переглянути онлайн або завантажити pdf Посібник із швидкого старту для Сервер друку Brother Business Smart MFC-J4510dw. Brother Business Smart MFC-J4510dw 29 сторінок. Quick setup guide - spanish
Також для Brother Business Smart MFC-J4510dw: Посібник (36 сторінок), Посібник (22 сторінок), Посібник з безпеки продукції (17 сторінок), Посібник (13 сторінок), Посібник (22 сторінок), Посібник з швидкого налаштування (47 сторінок), Посібник (18 сторінок), Посібник з швидкого налаштування (47 сторінок), Брошура та технічні характеристики (4 сторінок), Посібник з безпеки продукції (20 сторінок), Технічні характеристики (2 сторінок), Посібник з швидкого налаштування (47 сторінок), Посібник з безпеки продукції (25 сторінок), (іспанською) Посібник з веб-підключення Guia De Web Connect (38 сторінок), Посібник (іспанською) (24 сторінок), (Англійська) Посібник з безпечності продукції Посібник з безпечності продукції (16 сторінок), Посібник (іспанською) (11 сторінок), (Англійська) Посібник зі швидкого налаштування (47 сторінок)
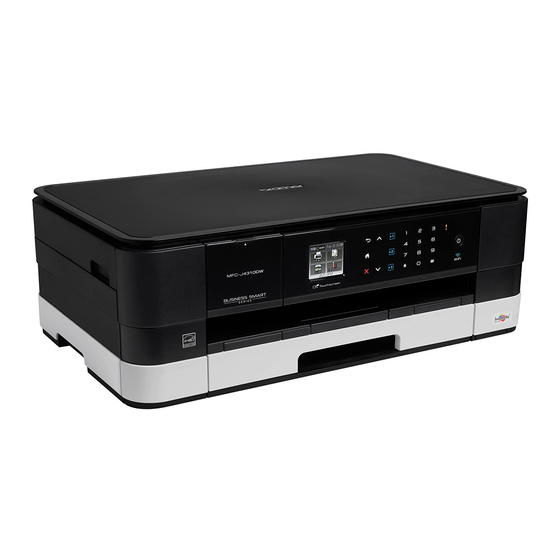
Brother Business Smart MFC-J4510dw Посібник із швидкого старту
Wired Network
18
Install MFL-Pro Suite
a
Put the supplied installation CD-ROM into your
CD-ROM drive. Follow the on-screen
instructions.
b
The CD-ROM Top menu will appear.
Click Install MFL-Pro Suite and click Yes if
you accept the license agreements. Follow the
on-screen instructions.
c
Choose Wired Network Connection
(Ethernet), and then click Next.
d
When Firewall/AntiVirus detected screen
appears, choose Change the Firewall port
settings to enable network connection and
continue with the installation.
(Recommended) and click Next.
If you are using a firewall other than the
®
Windows
Firewall, see the instructions
provided with your firewall software for
information on how to add the following
network ports.
For network scanning, add UDP port 54925.
For network PC-Fax receiving, add UDP port
54926.
If you still have trouble with your network
connection, add UDP ports 137 and 161.
NOTE
• If there is more than one machine connected to
the network, choose your machine from the list,
and then click Next.
• If your machine is not found over the network,
confirm your settings by following the
on-screen instructions.
e
The installation of the Brother drivers will
automatically start. The installation screens
appear one after another.
f
If Environmental Advice for Imaging
Equipment screen appears, click Next.
g
When the On-Line Registration screen is
displayed, follow the on-screen instructions.
Click Next.
h
If you do not want to set your machine as the
default printer, uncheck Set as Default Printer
and click Next.
19
Finish and restart
a
Click Finish to restart your computer. After
restarting the computer, you must log on with
Administrator rights.
b
The following screens will appear.
• When the Software Update Setting screen
appears, choose the software update setting
you want and click OK.
• When the Brother Product Research and
Support Program screen appears, select
your preference and follow the on-screen
instructions.
NOTE
Internet access is required for the software
update and the Brother Product Research &
Support Program.
The installation is now
Finish
complete.
To install optional applications:
Now go to
Page 26
NOTE
XML Paper Specification Printer Driver
The XML Paper Specification Printer Driver is the
most suitable driver for Windows Vista
®
Windows
7 when printing from applications that
use the XML Paper Specification documents.
Please download the latest driver by accessing
the Brother Solutions Center at
http://solutions.brother.com/.
®
Windows
®
and
15