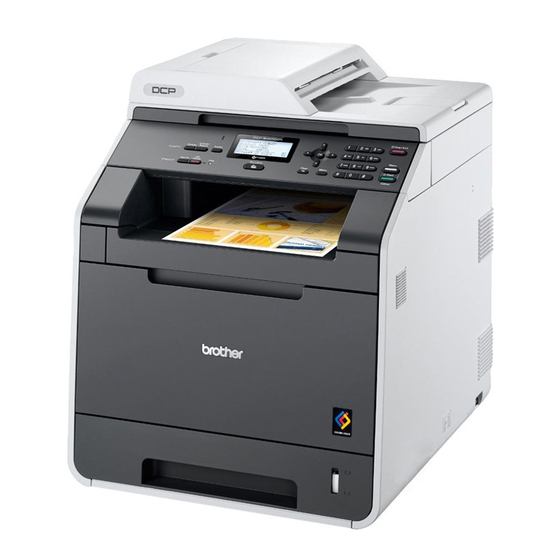
Brother HL-4570CDW Посібник з швидкого налаштування - Сторінка 26
Переглянути онлайн або завантажити pdf Посібник з швидкого налаштування для Сервер друку Brother HL-4570CDW. Brother HL-4570CDW 29 сторінок. Printer
Також для Brother HL-4570CDW: Технічні характеристики (2 сторінок), Безпека та законність (21 сторінок), Посібник користувача (20 сторінок), Посібник (25 сторінок)

Other Information
Color Correction (if needed)
Color Calibration
The output density for each color may vary depending
on the environment the machine is in, such as
temperature and humidity. Calibration helps you to
improve the color density.
Note
• If you print using the Direct Print feature or the
BR-Script printer driver, you need to perform
the calibration from the control panel. See
Using the control panel on page 26.
• If you print using the Windows
the driver will get the calibration data
automatically if both Use Calibration Data and
Get Device Data Automatically are on. See
Advanced tab in the User's Guide.
• If you print using the Macintosh printer driver,
you need to perform the calibration using
Status Monitor. After turning Status Monitor
on, choose Color Calibration from Control
menu. See Color Calibration in the User's
Guide.
Using the control panel
a
Press + or - to choose Color Correction.
Press OK.
b
Press + or - to choose ColorCalibration.
Press OK.
c
Press OK to choose Calibrate.
d
Press + to choose Yes.
You can reset the calibration parameters back to
those set at the factory.
a
Press + or - to choose Color Correction.
Press OK.
b
Press + or - to choose ColorCalibration.
Press OK.
c
Press + or - to choose Reset.
Press OK.
d
Press + to choose Reset.
26
Color Registration
Auto Registration
You can adjust the print position of each color
automatically.
a
b
c
d
®
printer driver,
Brother CreativeCenter Icon
Get inspired. Double-click the Brother CreativeCenter
icon on your desktop to access a FREE web site with
many ideas and resources for personal and
professional use.
http://www.brother.com/creativecenter/
Press + or - to choose Color Correction.
Press OK.
Press + or - to choose Auto Regist..
Press OK.
Press OK to choose Registration.
Press + to choose Yes.
To adjust the print position of each color
manually, see Manual Registration in the
User's Guide.
