Brother QL-580N Посібник з налаштування та експлуатації - Сторінка 3

Переглянути онлайн або завантажити pdf Посібник з налаштування та експлуатації для Сервер друку Brother QL-580N. Brother QL-580N 43 сторінки. Label printer
Також для Brother QL-580N: Посібник користувача мережі (42 сторінок), Посібник користувача програмного забезпечення (40 сторінок), Посібник користувача мережі (48 сторінок), Посібник користувача програмного забезпечення (48 сторінок), Посібник користувача (26 сторінок), Посібник користувача (40 сторінок), Посібник користувача (41 сторінок)
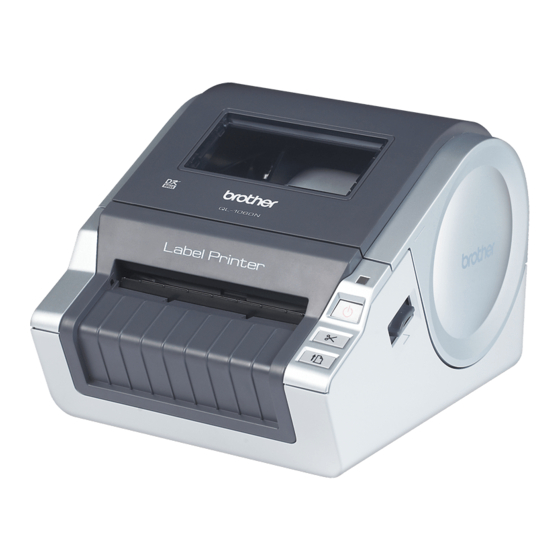
Brother QL-580N Посібник з налаштування та експлуатації

Introduction

Contents

Introduction •••••••••••••••••••••••••••••••••••••••••••••••••••• 1
Contents ••••••••••••••••••••••••••••••••••••••••••••••••••••••••••••••••••••••••• 1
General Information ••••••••••••••••••••••••••••••••••••••••••••••••••••••••••• 2
Safety Precautions •••••••••••••••••••••••••••••••••••••••••••••••••••••••••••• 3
General Precautions •••••••••••••••••••••••••••••••••••••••••••••••••••••••••••••••••••• 5
1
Getting started ••••••••••••••••••••••••••••••••••••••••••••••••• 7
1
STEP
1
Unpacking the QL-570/580N •••••••••••••••••••••••••••••••••••••••••••••••• 7
2
Parts Description••••••••••••••••••••••••••••••••••••••••••••••••••••••••••••••• 8
Main Printing Unit•••••••••••••••••••••••••••••••••••••••••••••••••••••••••••••••••••••••• 8
3
Connecting the Power Supply••••••••••••••••••••••••••••••••••••••••••••••• 8
4
Removing Protection Sheet•••••••••••••••••••••••••••••••••••••••••••••••••• 9
5
Setting the DK Roll •••••••••••••••••••••••••••••••••••••••••••••••••••••••••••• 9
6
Using Interface Cable ••••••••••••••••••••••••••••••••••••••••••••••••••••••••• 11
Installing the software •••••••••••••••••••••••••••••••••••••••• 13
2
2
STEP
1
Installing the Software for QL-570•••••••••••••••••••••••••••••••••••••••••• 13
2
Installing the Software for QL-580N•••••••••••••••••••••••••••••••••••••••• 17
3
Label Overview ••••••••••••••••••••••••••••••••••••••••••••••••• 29
3
STEP
1
Label Variety•••••••••••••••••••••••••••••••••••••••••••••••••••••••••••••••••••• 29
2
General Procedures••••••••••••••••••••••••••••••••••••••••••••••••••••••••••• 30
3
Start P-touch Editor Help••••••••••••••••••••••••••••••••••••••••••••••••••••• 31
4
Reference••••••••••••••••••••••••••••••••••••••••••••••••••••••• 33
4
STEP
STEP
1
LED Lamp ••••••••••••••••••••••••••••••••••••••••••••••••••••••••••••••••••••••• 33
2
Maintenance •••••••••••••••••••••••••••••••••••••••••••••••••••••••••••••••••••• 34
3
Troubleshooting •••••••••••••••••••••••••••••••••••••••••••••••••••••••••••••••• 36
4
Main Specifications•••••••••••••••••••••••••••••••••••••••••••••••••••••••••••• 38
Accessories••••••••••••••••••••••••••••••••••••••••••••••••••••••••••••••••••••••••••••••• 39
5
For Australia Only:••••••••••••••••••••••••••••••••••••••••••••••••••••••••••••• 40
®
®
••••••••••••••••••••••••••••••••••••••••••••••••••••••••••••••• 15
®
®
••••••••••••••••••••••••••••••••••••••••••••••••••••••••••••••• 23
®
•••••••••••••••••••••••••••••••••••••••••••••••••••••••••••••••••••••••••••• 31
®
•••••••••••••••••••••••••••••••••••••••••••••••••••••••••••••••••••••••••••••••••• 32
®
•••••••••••••••••••••••••••••••••••••••••••••••• 13
®
•••••••••••••••••••••••••••••••••••••••••••••••• 17
1
1
STEP
2
3
4