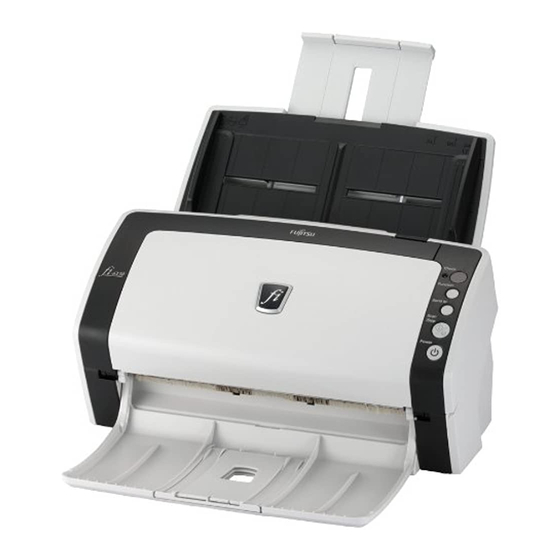
Fujitsu FI-6130 Початок роботи - Сторінка 13
Переглянути онлайн або завантажити pdf Початок роботи для Принтер Fujitsu FI-6130. Fujitsu FI-6130 23 сторінки. Color duplex workgroup scanners
Також для Fujitsu FI-6130: Посібник для початківців (20 сторінок), Брошура та технічні характеристики (2 сторінок), Інструкція з експлуатації (10 сторінок), Чистка та обслуговування (47 сторінок), Інструкції з очищення (2 сторінок)

■ Installing the FUJITSU ISIS
Scanner Driver
Screenshots taken in Windows XP are used as examples.
The displayed windows and operations may slightly vary
depending on the operating system you are using.
1.
Press the Power button to turn on the scanner.
2.
Turn on your computer, and then log on to
Windows.
Be sure to log on as a user with "Administrator" privileges.
3.
When the scanner is automatically detected, [Found
New Hardware Wizard] or [Add/Remove Hardware
Wizard] dialog box appears. Click the [Cancel]
button to close the Wizard dialog box.
4.
Insert the "Setup CD-ROM" into the CD drive.
⇒
<SETUP DISK START UP SCREEN> appears.
This screen may not appear if the "AutoPlay" setting is set to
off. In this case, find "Install.exe" in the CD-ROM using
"Explore" or "My Computer" and execute it.
5.
Click [INSTALL PRODUCTS], and then click [ISIS
Driver].
fi-6140/fi-6240/fi-6130/fi-6230 Image Scanner Getting Started
6.
Error Recovery Guide Installation dialog box
appears.
Error Recovery Guide is an application with which you
can view on-screen information for troubleshooting
errors that may occur in the scanner. This guide helps
solve problems, so select [Yes] to install it. You may
also choose to install it later.
After you select [Yes] for installing Error Recovery Guide,
the [Choose Setup Language] dialog box appears. Select a
language and follow the on-screen instructions. The Error
Recovery Guide dialog box is automatically displayed
when the installation is complete. Wait until the installation
of the ISIS driver starts.
7.
Select a language for the installation on the
[Choose Setup Language] dialog box, and then
click the [Next] button.
8.
Install the driver, following the on-screen
instructions.
9.
When you see the [InstallShield Wiizard Complete]
dialog box, click the [Finish] button.
Your computer will restart and detect the scanner. Do not
remove the Setup CD-ROM from the CD drive until your
computer completely starts up again.
Depending on the operating system you are using, you
may need to do the following.
Windows 2000:
If you see the [Digital Signature not Found] dialog box, click
[Yes].
Windows Vista:
If you see the [Found New Hardware] dialog box, select
[Locate and install driver software], and then in the [User
Account Control] dialog box, click the [Continue] button, if it
is displayed.
The installation of FUJITSU ISIS is complete.
Next, install ScandAll PRO (
To make sure that FUJITSU ISIS is successfully installed,
perform a scan with a ISIS-compliant application such as
ScandAll PRO. For information about how to scan with
ScandAll PRO, refer to section "2.4 Checking Scanner
Driver Operation" on page 10.
7
page 8).
