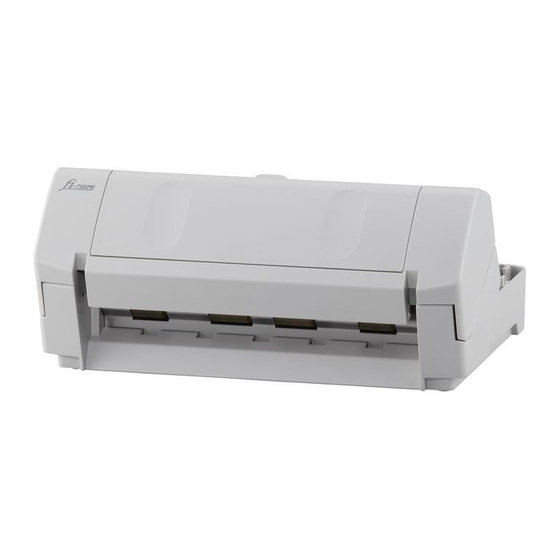
Fujitsu Fi-718PR Посібник оператора - Сторінка 14
Переглянути онлайн або завантажити pdf Посібник оператора для Принтер Fujitsu Fi-718PR. Fujitsu Fi-718PR 17 сторінок. Imprinter
Також для Fujitsu Fi-718PR: Посібник оператора (18 сторінок)

4. Daily Care
4.1. Cleaning the Print Cartridge
Poor quality prints may occur due to blocked ink emission
holes in the nozzle plate of the print cartridge. Leaving the
imprinter unused for a long period of time can also cause
the ink emission holes to become blocked. When these
holes are blocked, clean the nozzle plate.
ATTENTION
For cleaning, use a dry cloth (DO NOT use tissues), and gently
wipe any dirt and stains off on the nozzle plate.
HINT
If the ink emission holes are still blocked after cleaning the print
cartridge, replace it with a new cartridge.
1.
Turn off the scanner.
2.
Remove the print cartridge.
(Refer to
"3.4. Replacing the Print
ATTENTION
Be careful not to touch the nozzle plate or the contact part
with your hand.
3.
Gently wipe any dirt and stain off the nozzle plate.
4.
Confirm that the print cartridge is clean, and then
install the print cartridge.
(Refer to
"3.4. Replacing the Print
ATTENTION
When installing or replacing the print cartridge, be careful
not to insert it out of place.
12 |
Cartridge")
Nozzle plate
Cartridge")
4.2. Cleaning the Imprinter
After frequent use, the waste ink will begin to accumulate
on the base surface of the print cartridge holder, which can
soil printouts. Always maintain the base surface clean.
To assure high quality print outs and long use of the
imprinter, adopt a daily maintenance procedure as given
below.
ATTENTION
●
When cleaning, wipe off gently all dust and ink on the base
surface of the holder with a breathable cloth.
●
If the ink has dried, wipe it lightly with a water-moistened
cloth as the ink is water-based.
1.
Turn off the scanner.
2.
Remove the print cartridge.
(Refer to
"3.4. Replacing the Print
3.
Open the print section.
4.
Wipe off any dirt or dust on the base surface of
the print cartridge holder with a cloth.
ATTENTION
Be careful not to touch the metal wheels located behind the
upper rollers in the print section.
5.
Confirm that the print section is clean, and then
close the print section.
6.
Reinstall the print cartridge and close the print
cartridge cover.
(Refer to
"3.4. Replacing the Print
Cartridge")
Cartridge")
