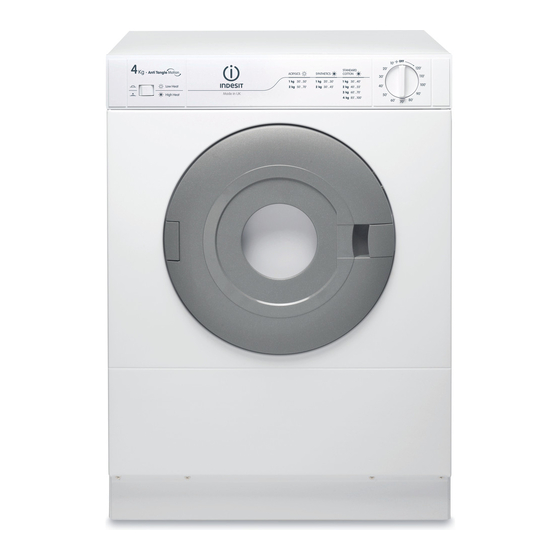
Indesit IS 41 V Інструкція з експлуатації - Сторінка 2
Переглянути онлайн або завантажити pdf Інструкція з експлуатації для Сушарка Indesit IS 41 V. Indesit IS 41 V 48 сторінок. Tumble dryer
Також для Indesit IS 41 V: Інструкція з експлуатації (4 сторінок), Інструкція з використання, догляду та встановлення (40 сторінок)

Installation
Where to put your dryer
Place your dryer at a distance from gas
●
GB
ranges, stoves, heaters, or cook tops
because flames can damage the appliance.
Minimum gap 50mm
Minimum gaps
25mm
the sides and lateral furnishings or walls.
This is to ensure proper air circulation.
Make sure that the back vents are not
obstructed.
Make sure you put your dryer in an
●
environment that is not damp and has
proper air circulation throughout, the
dryer will not operate efficiently in an
enclosed space or cupboard.
! We do not recommend that the dryer is
installed in a cupboard but the dryer must
never be installed behind a lockable door,
a sliding door or a door with a hinge on
the opposite side to that of the dryer door.
! The appliance must be installed with the
rear surface placed against a wall.
Ventilation
The Dryer dries your laundry by drawing in cool, clean
and relatively dry air, heating it, and then distributing it
through the clothes as they are gently tumbled.
For optimum performance, the moist air is then blown
out through a vent tube at the back of the dryer.
When the dryer is in use, there has to be adequate
ventilation to avoid the back flow of gases into the room
from appliances burning other fuels, including open fires.
! Ensure that the dryer is adequately ventilated and
that the end of the vent tube is not directed towards
the air intake duct.
! The vent tube must always be fitted for optimum
performance.
! Make sure that the vent tube and air intake vents are
not obstructed or blocked.
! The dryer must not recycle exhaust air.
! Misusing a tumble dryer may create a fire hazard.
! Do not discharge exhaust air into a flue which is
used for exhaust fumes from other appliances that
burn gas or other fuels.
! Do not discharge exhaust air into an extraction
system or any duct with an extractor fan. This will
affect the way the thermal controls operate and can
result in a fire hazard.
! Do not allow clothes, towels etc., to hang down the
front of the dryer into the airstream. This obstructs the
airflow and may damage the dryer.
2
If you are going to
●
install the appliance
under a work counter,
be sure to leave a
50mm space between
the top and any other
objects on or above
the machine and a
25mm space between
Mobile venting
A vent tube must always be fitted when the dryer is
used in conjunction with Mobile Venting.
The tube must be fitted securely into the front of the
dryer. If possible, it is always best to connect the tube
to a permanent outlet close to the dryer. If permanent
installation is not possible, the dryer will work just as
well with the tube passing through a partly-opened
window.
! Ensure that the end of the tube is not directed
toward the air intake vent at the rear of the dryer.
! The vent tube should not exceed 2.4 metres in
length and should be kept free of any possible
accumulation of fluff, lint and water by shaking it out
frequently. Always ensure that the tube is not
squashed.
Permanent venting
In conjunction with the vent tube we recommend
using a Wall/Window Vent Kit, available at a retail
location or the nearest Spare Parts Dealer.
Window mounting
1. The hole in the window should
ideally be made below the vent.
2. The tube should be
kept as short as possible.
Depending on how often you use your dryer, it is
essential that areas A and B are checked periodically
to remove lint or debris.
The vent tube adaptor must be fitted securely thus
preventing any humid air from being emitted back into
the room.
! The tube should be kept clear of the air intake vent
and kinks or 'U' bends must be avoided as these will
obstruct the tube or trap condensation.
Open window venting
The end of the tube should be
directed downwards, to prevent
warm moist air from condensing
in the room or in the dryer.
Wall hanging kit
This allows the dryer to be mounted on a wall of
suitable strength to take the weight. Alternatively it
should be used when the dryer is mounted on top of a
work surface to secure the dryer to the wall.
