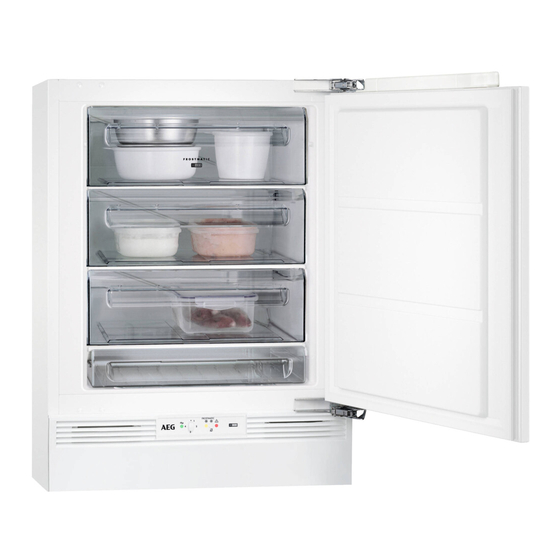
AEG ABB682F1AF Посібник користувача - Сторінка 8
Переглянути онлайн або завантажити pdf Посібник користувача для Морозильна камера AEG ABB682F1AF. AEG ABB682F1AF 36 сторінок.
Також для AEG ABB682F1AF: Посібник користувача (20 сторінок), Посібник користувача (36 сторінок), Інструкція з монтажу (20 сторінок)

8
www.aeg.com
It must be possible to
disconnect the appliance
from the mains power
supply. The plug must
therefore be easily
accessible after installation.
3.3 Electrical connection
• Before plugging in, ensure that the
voltage and frequency shown on the
rating plate correspond to your
domestic power supply.
• The appliance must be earthed. The
power supply cable plug is provided
with a contact for this purpose. If the
domestic power supply socket is not
earthed, connect the appliance to a
separate earth in compliance with
current regulations, consulting a
qualified electrician.
• The manufacturer declines all
responsibility if the above safety
precautions are not observed.
4. CONTROL PANEL
Power indicator light
1
Temperature regulator and On/Off
2
switch
Frostmatic light
3
4.1 Switching on
1. Insert the plug into the wall socket.
2. Turn the Temperature regulator
clockwise to a medium setting.
If the temperature inside the appliance is
too high, the Alarm light will blink and the
acoustic alarm will turn on.
3. Push the Frostmatic switch and the
acoustic alarm will turn off. The
Alarm light will blink until the internal
1
2
3
3.4 Ventilation requirements
CAUTION!
Appliance must be installed
according to installation
instruction in order to ensure
required ventilation.
3.5 Door reversibility
Please refer to the separate document
with instructions on installation and door
reversal.
CAUTION!
At every stage of reversing
the door protect the floor
from scratching with a
durable material.
4
5
Frostmatic switch and alarm reset
4
switch
Alarm light
5
temperature has reached a level
required for the safe conservation of
frozen food.
4.2 Switching off
1. Turn the Temperature regulator to
the "O" position.
The Power indicator light will switch off.
2. Remove the plug from the wall
socket.
