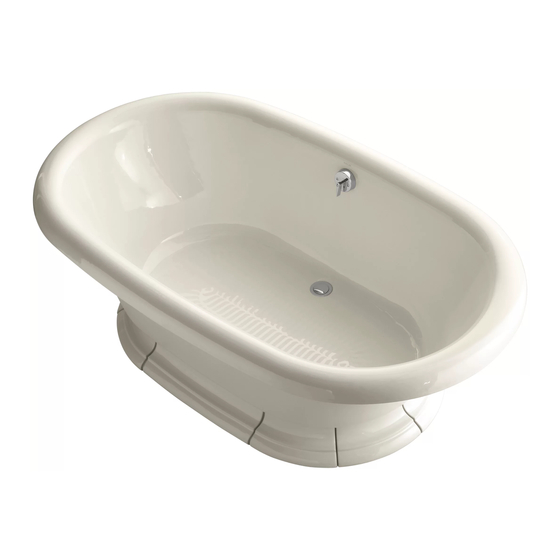
Kohler Vintage K-700T Інструкція з монтажу Посібник з монтажу - Сторінка 3
Переглянути онлайн або завантажити pdf Інструкція з монтажу Посібник з монтажу для Ванни Kohler Vintage K-700T. Kohler Vintage K-700T 12 сторінок. Drop-in or freestanding cast iron bath

PREPARE THE UNIT
PREPARE THE UNIT
A. Prepare the Site
NOTICE: Make sure the floor will support 2000lbs.
(907kg).
This is the combined weight of the bath, water,
and two bathers.
·
Make sure the flooring offers adequate support for
your bath, and verify that the subfloor is flat and
level.
·
When constructing the framing, allow for the
thickness of the finished wall materials.
CAUTION: Risk of product or property
damage. Do not support the bath by the rim.
Provide adequate support under the feet.
·
For drop-in or raised-deck installations:
the floor, or construct 2 4 or 2 6 stud framing
according to the roughing-in information. Ensure
that there is a 1/16
" (2mm) gap between the finished
deck/floor surface so the bath does not rest on the
rim. Use the template packed with the bath to
carefully lay out and cut the rough deck material.
·
Position the plumbing according to the roughing-in
information. Cap the supplies and check for leaks.
·
Make sure the drain location corresponds to the
bath outlet.
·
For all installations:
according to the roughing-in information. Cap the
supplies and check for leaks.
·
For freestanding installations:
flooring and wall materials.
B. Prepare the Bath
CAUTION: Risk of personal injury.
baths are extremely heavy. Obtain sufficient help
to carefully lift or move the bath.
CAUTION: Risk of product or property
damage.
Do not support the bath by the rim.
Provide adequate support under the feet.
·
Install the drain to the bath according to the drain
,
manufacturer
s
instructions. Do not connect the trap
at this time.
·
Position a clean drop cloth or similar material in the
bottom of the the bath. Be careful not to scratch the
surface of the bath.
1023725-T01-A
Frame
Position the plumbing
Install the finished
Cast iron
A.
·
·
·
2 4 2 6
2mm
·
·
·
·
B.
·
·
3
2000
(907
)
