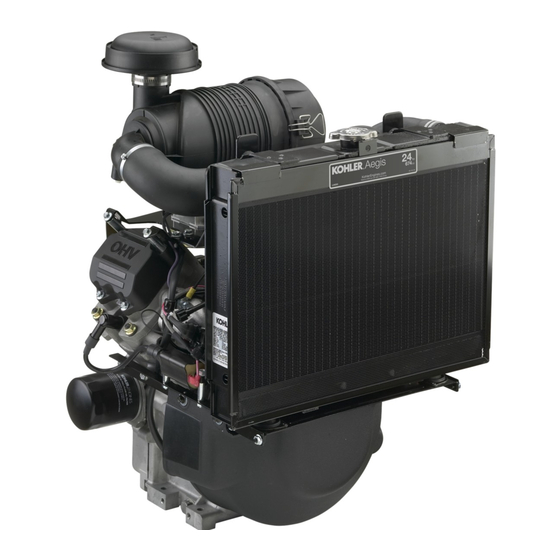
Kohler Aegis LH685 Посібник користувача - Сторінка 6
Переглянути онлайн або завантажити pdf Посібник користувача для Двигун Kohler Aegis LH685. Kohler Aegis LH685 8 сторінок. Horizontal-shaft
Також для Kohler Aegis LH685: Посібник користувача (21 сторінок)

7. Reinstall oil fi ll cap/dipstick and tighten
securely.
8. Start engine; check for oil leaks. Stop engine;
correct leaks. Recheck oil level.
9. Dispose of used oil and fi lter in accordance
with local ordinances.
Oil Sentry
(if equipped)
™
This switch is designed to prevent engine
from starting in a low oil or no oil condition. Oil
Sentry
may not shut down a running engine
™
before damage occurs. In some applications
this switch may activate a warning signal. Read
your equipment manuals for more information.
Fuel Recommendations
Explosive Fuel can cause fi res
and severe burns.
Do not fi ll fuel tank while engine is
hot or running.
Gasoline is extremely fl ammable and
its vapors can explode if ignited. Store
gasoline only in approved containers, in
well ventilated, unoccupied buildings, away
from sparks or fl ames. Spilled fuel could
ignite if it comes in contact with hot parts or
sparks from ignition. Never use gasoline as a
cleaning agent.
NOTE: E15, E20 and E85 are NOT approved
and should NOT be used; effects of
old, stale or contaminated fuel are not
warrantable.
Fuel must meet these requirements:
● Clean, fresh, unleaded gasoline.
● Octane rating of 87 (R+M)/2 or higher.
● Research Octane Number (RON) 90 octane
minimum.
● Gasoline up to 10% ethyl alcohol, 90%
unleaded is acceptable.
● Methyl Tertiary Butyl Ether (MTBE) and
unleaded gasoline blend (max 15% MTBE by
volume) are approved.
● Do not add oil to gasoline.
● Do not overfi ll fuel tank.
● Do not use gasoline older than 30 days.
Fuel Line
Low permeation fuel line must be installed on
carbureted Kohler Co. engines to maintain EPA
and CARB regulatory compliance.
6
WARNING
KohlerEngines.com
Spark Plugs
Electrical Shock can cause injury.
Do not touch wires while engine
is running.
Clean out spark plug recess. Remove plug and
replace.
1. Check gap using wire feeler gauge. Adjust
gap, see specifi cation table for adjustment.
2. Install plug into cylinder head.
3. Torque plug to 20 ft. lb. (27 N·m).
Air Cleaner
NOTE: Operating engine with loose or
damaged air cleaner components
could cause premature wear and
failure. Replace all bent or damaged
components.
NOTE: Paper element cannot be blown out
with compressed air.
1. Unhook retaining clips and remove end
cap(s).
2. Check and clean inlet screen (if equipped).
3. Pull air cleaner element out of housing and
replace. Check condition of inner element;
replace when dirty.
4. Check all parts for wear, cracks, or damage,
and that ejector area is clean.
5. Install new element(s).
6. Reinstall end cap(s) with dust ejector valve/
screen down; secure with retaining clips.
Breather Tube
Ensure both ends of breather tube are properly
connected.
CAUTION
66 590 05 Rev. --
