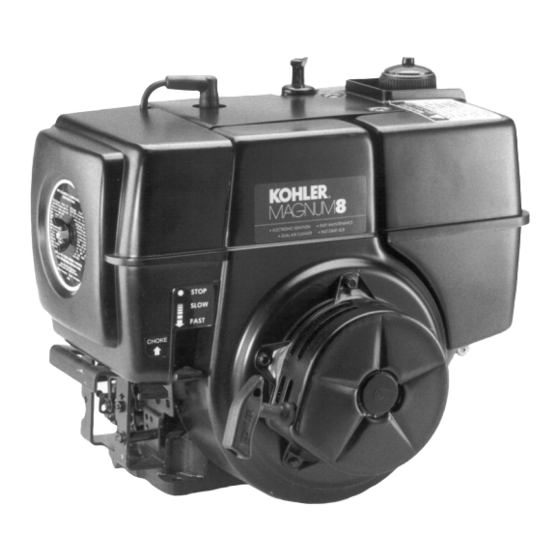
Kohler Magnum M10 Посібник користувача - Сторінка 5
Переглянути онлайн або завантажити pdf Посібник користувача для Двигун Kohler Magnum M10. Kohler Magnum M10 9 сторінок. 8/10/12/14/16 hp

- 1. Checking Oil
- 2. Pre-Start Checklist
- 3. Operating Instructions
- 4. Maintenance Instructions
- 5. Ignition System
- 6. Cooling System
- 7. Air Cleaner
- 8. Spark Plug
- 9. Battery Charging
- 10. Fuel Filter
- 11. Carburetor Adjustments
- 12. Troubleshooting
- 13. Parts Ordering
- 14. Major Repair
- 15. Model Designation
- 16. Specifications
4. Saturate precleaner in clean, fresh
engine oil and squeeze out excess
oil.
5. Rei nstall precleaner over paper
element.
•
Paper E lement
Every 100 operating hours (more
often under extremely dusty or dirty
conditions) check the paper element.
Clean or replace the element as ne
cessary.
1. Remove the precleaner (if so equip
ped), element cover, and paper
element.
2. Gently tap the flat side of paper
element to dislodge dirt. Do not
wash the paper element or use
pressurized air as this will damage
the element. Replace a dirty, bent,
or damaged element with a gen
uine Kohler element. Handle new
elements carefully. Do not use if
surfaces are bent or damaged.
3. With air cleaner disassembled
check the base plate. Make sure it
is secured and not bent or dam
aged. Also check the element
cover, seals, and breather tube tor
damage or improper fit. Replace all
damaged components.
CAUTION: Damaged or loose com
ponents could allow unfiltered air
into the engine causing premature
wear and failure.
4. Reinstall the paper element, ele
ment cover, and cover nut. Tighten
the cover nut securely to be sure
the element is sealed tightly against
the element cover and base plate.
5. If so equipped, install the pre
cleaner (washed and oiled) over
paper element.
6. Install air cleaner cover and wing
nut. Tighten wing nut until it is
snug against cover. Do not over
tighten.
SPARK PLUG
Every 100 operating hours remove the
spark plug, check its condition and
reset gap, or replace with new plug as
follows:
1. Before removing spark plug, clean
the area around base of plug to
keep dirt and debris out of engine.
2. Remove plug and check its condi
tion. An incorrect spark plug, a
worn or fouled plug, cracked porce-
Throttle
Control
Models M10, M12, M14, and M16
Air Cleaner and Controls
lain, or improper spark gap can
cause hard starting or engine mis
fi reo
3. Do not clean the spark plug in a
machine using abrasive grit. Re
place the plug when dirty or if
reuse is questionable. See "SPE
CIFICATIONS" on page 8 for plug
,
type.
4. Check gap (0.025") using a wire
feeler gauge. Adjust the gap as
necessary by carefully bending the
ground electrode. Install the plug
and torque to 18-22 ft. lb.
Wire Gauge
•
Spark Plug
•
Ground
Electrode
BATTERY CHARGING
A
WARNING: Dangerous ACid,
Explosive Gases
Batteries contain sulphuric acid. Avoid
contact with skin, eyes, and clothing.
Batteries produce explosive hydrogen
gas while being charged. Ventilate the
area when charging the battery. Keep
cigarettes, sparks, open flame, and
other sources of ignition away from
battery at al/ times. Keep batteries and
acid out of the reach of Children.
Remove al/ jewelry when working on
battery.
..
Paper
Element
Cover
Element
Cover Nut
Choke
Control
Key Switch .-,
CAUTION: Do not apply 12-V DC to
kill terminal of ignition module as
module will burn out.
See wiring diagram on page 7.
OPTIONAL REDUCTION
GEA R UNIT
On engines equipped with a reduction
gear unit, check the oil level in the unit
every 50 operating hours as follows:
Remove the plug on the lower part
1.
of gear unit cover to check oil level.
With the engine level, the oil should
be up to the bottom of the plug
hole.
2. To add oil, remove the vented fill
plug at the top of the unit. Use the
same type of oil as used in the
engine crankcase.
3. Reinstall the plugs and tighten
securely.
Vented Oil
Fill Plug
t
.
'
FUE L FILTER
Some engines are equipped with
an in-line fuel filter. Visually in
spect the filter periodically and
replace when dirty with a genuine
Kohler filter.
.
.
-
O-llt\'lI n ,
U
Drain Plug
(Oil Level
Check)
5
