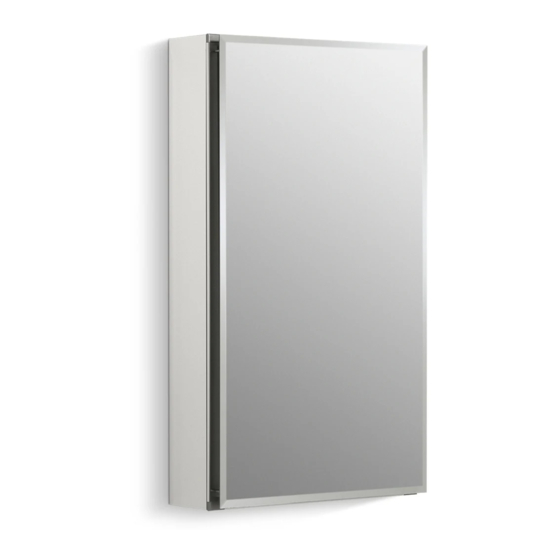
Kohler CLC3526FW Інструкція з експлуатації - Сторінка 3
Переглянути онлайн або завантажити pdf Інструкція з експлуатації для Внутрішнє оздоблення приміщень Kohler CLC3526FW. Kohler CLC3526FW 20 сторінок.

2. Surface mounting the cabinet on a wall. *
A. Install Mounting Bar. (Step one varies on type of cabinet
you have, see below.)
Fig. 3A – For Single Door
1. Drill two 3/16 holes in bottom mounting bar at indent
location. Use the supplied anchors or locate studs
if possible.
3/4"
Bottom of Cabinet
Fig. 3B – For Two Door
1. Drill three 3/16 holes in bottom mounting bar at indent
location. Use the supplied anchors or locate studs
if possible.
3/4"
Bottom of Cabinet
Fig. 3C – For Three Door
1. Drill four 3/16 holes in bottom mounting bar at indent
location. Use the supplied anchors or locate studs
if possible.
3/4"
Bottom of Cabinet
2. Drill 3/16" hole in wall for mounting bar anchors at locations
shown in Fig. 3. (If you do not use the anchor, drill a 3/32"
pilot hole.) After the holes are drilled, fit the mounting bar
onto the wall, refer to Fig. 3 for measurements, and Fig. 5
for information on anchor cinching.
209-1023 CLC Cabinets
4 1/2" from edge
CLC20
CLC15
2" from edge
Side of Cabinet
2" from edge
Side of Cabinet
CLC36
2 1/2" from edge
CLC30
2" from edge
Side of Cabinet
Installing the cabinet on a wall without the door attached can make installing easier
for one person. Do not mount the doors until the box is in or on the wall.
B. Install Top Clips
(Left and right top clips come connected, hold
both clips and snap them apart).
1. Fit cabinet into position on mounting bar as
shown in Fig. 4A.
2. Place clip in position as shown in Fig. 4B and
mark with a pencil. Remove clip and cabinet and
drill the pilot or anchor holes where marked.
3. Fix both the clips into position with a screw, and
slide the clip into the up position. Sit the cabinet
on the mounting bar, then lower and tighten the
screws into place, as shown in Fig 4C.
4. See Fig. 5 on next page for proper turns required
for anchor cinching.
5. See page 3 for Side Kit Mirror application.
INSTALLER'S NOTE:
If you are using a CLL Top Light STOP HERE
and follow the CLL instructions.
Fig. 4A
Cabinet bottom sits
in lip on bottom
mounting bar
11" bottom mounting bar for CLC15/20
21" bottom mounting bar for CLC25
26" bottom mounting bar for CLC30
31" bottom mounting bar for CLC35/36
INSTALLER'S NOTE:
3
#8 x 2" Hex
head screw &
Wall anchor
(use 1/4" driver)
Wall anchor
(if required)
Top mount clip
#8 x 2" Hex head screw
(Use 1/4" driver)
