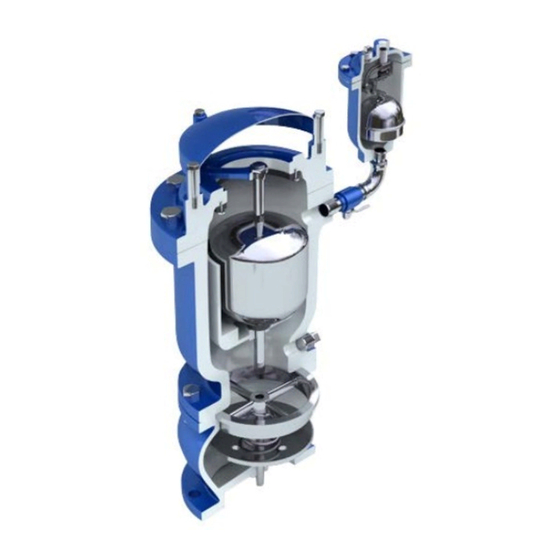
DeZurik APCO AVV-1800 Інструкція з експлуатації - Сторінка 5
Переглянути онлайн або завантажити pdf Інструкція з експлуатації для Блок управління DeZurik APCO AVV-1800. DeZurik APCO AVV-1800 18 сторінок. Dual body combination air valve with optional csv surge check valve

APCO AVV-1800/1800K Dual Body Combination Air Valve
AVV-1800K Assembly (Continued)
3. For 1-3" (25-80mm) AVV Only:
See Figures 1-2 for part identification.
a. Remove ONLY the pipe plug (A25) in the side of body (A1) if applicable.
i. DO NOT remove pipe plug (A25) in the cover (A2).
b. Apply thread sealant to the threads in the port on the side of the body (A1).
c. Apply Teflon tape to the threads on the nipple (P6).
d. Thread the nipple (P6) into the side port of the body (A1).
e. Apply thread sealant to the threads in the elbow (P7).
f.
Thread the elbow (P7) onto the nipple (P6).
g. Using a wrench, torque the elbow (P7) until secure and until the elbow is orientated
vertically with the exposed threads toward the top.
h. Apply Teflon tape to the threads on the outside of the elbow (P7).
i.
Apply thread sealant to the threaded inlet of the ARV (Air Release Valve).
j.
Thread the inlet of the fully assembled ARV onto the elbow (P7).
k. Using a chain wrench, torque the ARV until secure.
4. For 4-20" (100-500mm) AVV Only:
See Figures 1 & 3 for part identification.
For information regarding 24" (600mm) Air/Vacuum Valves, contact your local DeZURIK sales
representative.
a. Remove ONLY the upper pipe plug (A44) in the side of the body (A1) if applicable.
i. DO NOT remove the lower pipe plug (A44) in the side of the body (A1).
b. Apply thread sealant to the threads in the upper port on the side of the body (A1).
c. Apply Teflon tape to the threads on the nipple (P5).
d. Thread the nipple (P5) into the side port of the body (A1).
e. Apply thread sealant to the threads in the ball valve (P8).
f.
Thread the ball valve (P8) onto the nipple (P5).
g. Using a wrench, torque the ball valve (P8) until secure and until the handle is positioned
toward the side or bottom (NOTE: The handle will be in the way if it is on top.)
h. Apply Teflon tape to the threads on the nipple (P6).
i.
Thread the nipple (P6) into the ball valve (P8).
j.
Apply thread sealant to the threads in the elbow (P7).
k. Thread the elbow (P7) onto the nipple (P6).
l.
Using a wrench, torque the elbow (P7) until secure and until the elbow is orientated
vertical with the exposed threads toward the top.
m. Apply Teflon tape to the threads on the outside of the elbow (P7).
June 2019
with CSV Surge Check Valve
Page 5
DeZURIK
D12025
