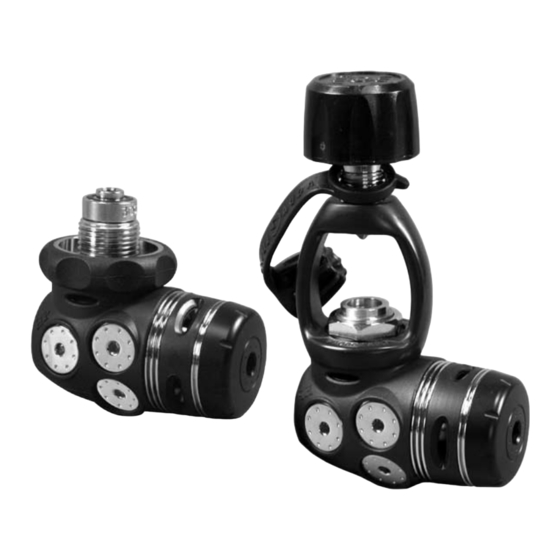
Aqua Lung Legend First Stage Посібник з технічного обслуговування - Сторінка 5
Переглянути онлайн або завантажити pdf Посібник з технічного обслуговування для Ді-джейське обладнання Aqua Lung Legend First Stage. Aqua Lung Legend First Stage 18 сторінок.

Legend First Stage Technical Maintenance Manual
7. To remove the diaphragm (19b), insert a low pressure air
nozzle into the open MP port. While holding your thumb over
the diaphragm, inject a small blast of air into the MP port to
pop out the diaphragm. Lift out the pin support (18). Turn the
regulator over and allow the pin (7) to fall out into your hand.
CAUTION:
DO NOT attempt to pry the diaphragm
out of the first stage with a metal instrument.
Doing so will permanently damage the seating
shoulder in the first stage, requiring replacement
of the body.
8. Using an 8mm hex key, unscrew the HP plug (1). Turn the
regulator over so the spring (5) and HP seat (6) fall out into
your hand. Separate the spring from the HP seat.
9. Using a brass o-ring tool (p/n 9440), remove the o-ring
() from the HP plug (1). Next, remove the o-ring (4) and
backup ring (3) from inside the HP plug.
CAUTION:
The slightest scratch or scar across
the sealing surface inside the HP plug may
cause leakage and could prevent the regulator
from achieving a stable lock-up of MP.
CAUTION:
Before proceeding, make sure you are
working over a padded work surface; otherwise,
the crown (9) may be damaged during removal.
10. Insert the pin end of seat extractor tool (p/n 109437) into
the center hole on the low pressure side (diaphragm side)
of the first stage body. While keeping the pin slightly tilted,
press inward to remove the crown (9). Remove the o-ring (8)
from the crown.
11. Disassembly of the yoke version
a. Secure the vise mounting tool into a bench vise with
the yoke facing upward. Unscrew the yoke screw (34)
and remove the dust cap (35) from the yoke screw.
Using a large (15") adjustable wrench, unscrew the
inlet fitting (30). Loosen the vise and remove the first
stage. Remove the vise mounting tool from HP port.
b. Using circlip pliers (p/n 111100), squeeze the circlip
(32) and remove it from the inlet fitting. Turn over the
inlet fitting and allow the filter shield (31) to fall out
into your hand.
c. Insert the plastic end of the seat extractor tool into
the open end of the inlet fitting and push out the filter
(13). Remove the filter o-ring (12).
5
