Aqua Medic BLENNY Qube Посібник з експлуатації - Сторінка 4
Переглянути онлайн або завантажити pdf Посібник з експлуатації для Засіб для догляду за домашніми тваринами Aqua Medic BLENNY Qube. Aqua Medic BLENNY Qube 13 сторінок.
Також для Aqua Medic BLENNY Qube: Посібники з експлуатації (18 сторінок)

Operation Manual ENG
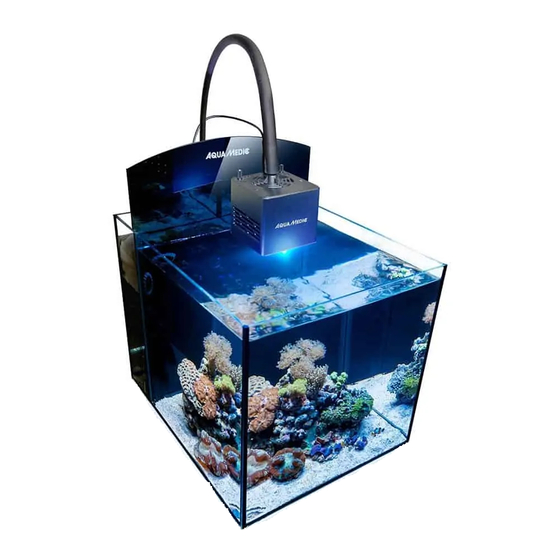
The saltwater aquarium Blenny Qube is a nano aquarium incl. skimmer, filtration and lighting.
1. Product description
Following parts are included:
- Aquarium 40 x 50 (incl. filter chamber) x 40 cm
- Skimmer EVO 500
- Current pump EcoDrift 4.2
- Illumination Qube 50
- Filter separating wall
- Filter basket for taking up activated carbon or phosphate absorbers
A timer and a socket board are not included.
2. Set-Up of the aquarium
The aquarium can be placed directly on a sufficiently solid cabinet or desk. Beforehand, the cabinet plate and
the lower surface of the aquarium should be cleaned to prevent the bottom pane of glass from bursting through
grains of sand or any dust particles.
First of all, the aquarium has to be cleaned with clear water. Afterwards, the protective plastic film has to be
pulled off the black plastic rear wall (if applicable). The lower edge of the rear wall has a lip made of self-
adhesive foam rubber. Wipe any fingerprints off the lower edge by using a dry cloth. Remove the protective
plastic film from the self-adhesive strip, apply and remove any excess rubber.
Now, push the rear wall into place.
3. Current pump EcoDrift 4.2
See attached manual.
The pump is open at the front. Therefore, it should never be started uncontrolled. Animals could be
found in the sucking in basket and they could be injured or killed by the starting propeller. The pump has to
be adjusted in such a way that the water level in the filter chamber is not greatly reduced or
fluctuates. Otherwise, the skimming process is not working.
The pump is attached to the filter separating wall by using the magnetic holder, so that the outflow opening
extends into the recess of the separating wall (see Fig. 1).
Fig. 1: Mounting the EcoDrift 4.2
4
