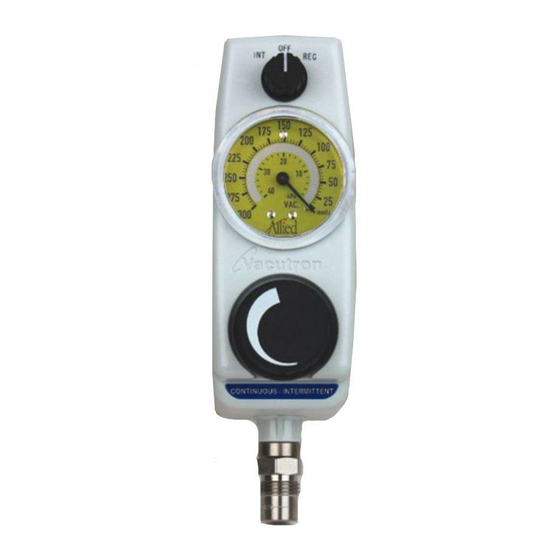
Allied Healthcare VACUTRON INTERMITTENT Посібник з експлуатації та технічного обслуговування - Сторінка 10
Переглянути онлайн або завантажити pdf Посібник з експлуатації та технічного обслуговування для Медичне обладнання Allied Healthcare VACUTRON INTERMITTENT. Allied Healthcare VACUTRON INTERMITTENT 16 сторінок. Vacuum regulators for continuous or intermittent drainage

DO NOT ATTEMPT TO FLUSH THE UNIT EXCEPT AS DESCRIBED IN SECITON 6.6.
FAILURE TO FOLLOW THIS CAUTION MAY RESULT IN SEVERE IMPAIRMENT OF
CAUTION
6.7
Filters:
There are two small filters on the back of the unit (See Figure 10). They should be visually inspected
regularly and replaced as needed.
6.7.1.
Use a pointed object to pry the old filters out of the back of the unit. Press the new filters into
the filter holes with your thumb.
6.8
Intermittent Timing Adjustments:
WHEN TIMING VALVES ARE COMPLETELY TIGHTENED (CLOCKWISE), UNIT
WARNING
Follow this procedure if the unit fails to cycle as specified in Section 2.0, or if the user elects to change
the ON/OFF periods.
6.8.1.
Remove the cover as per section 6.1.
6.8.2.
Plug the patient outlet of the regulator with a rubber stopper.
6.8.3.
Connect the unit to vacuum source of 45720 mm Hg (60 kPa, 18 in Hg).
6.8.4.
Turn the mode selector switch to the INT position.
6.8.5.
The timing valves are located partially under the gauge (See Figure 9). Early models have white
thumb wheels for valve adjustment. Later models have a screwdriver slot.
To increase the unit's OFF time, turn the OFF Timing Control valve CLOCKWISE one eighth
6.8.6.
of a turn. Allow the unit to cycle a few times, then measure the modified off time. Repeat this
process if required.
6.8.7.
To decrease the OFF time follow Section 6.8.6, but turn the OFF Timing Control valve
COUNTER CLOCKWISE.
6.8.8.
To increase the ON time, turn the ON Timing Control valve CLOCKWISE one eighth of a turn.
Allow the unit to cycle a few times, then measure the modified ON time. Repeat this process if
required.
6.8.9.
To decrease the ON time, follow Section 6.8.8, however, turn the ON Timing Control valve
COUNTER CLOCKWISE.
6.8.10. When proper timing is achieved, replace the cover.
6.8.11. Check the timing of the unit one more time. If you are not able to adjust the timing in
accordance with section 2.0, see section 5.0 TROUBLESHOOTING GUIDE.
THE UNIT.
MAY NOT CYCLE.
10
