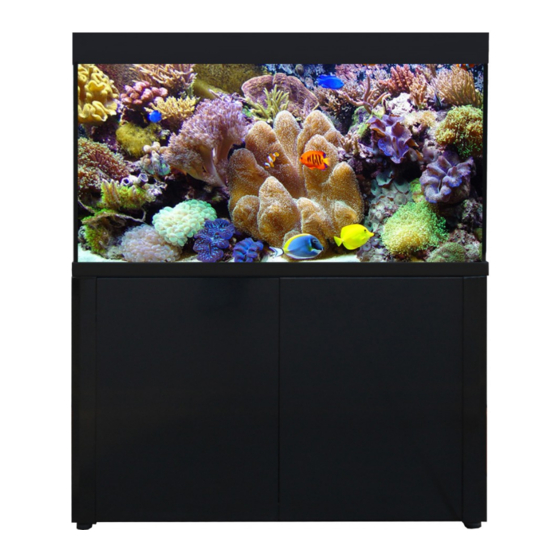
Aqua One AquaReed 300 Посібник - Сторінка 4
Переглянути онлайн або завантажити pdf Посібник для Засіб для догляду за домашніми тваринами Aqua One AquaReed 300. Aqua One AquaReed 300 8 сторінок. Series ii, aquarium

Set Up Instructions
All plumbing components are already glued
into place except where threaded joints are
required for assembly into the aquarium or to
allow access for maintenance. Two people will
be required to connect the plumbing through
the base of the aquarium, one to access from
above the weir and one to hold pipes in place
below the aquarium.
1. Insert the threaded end of the drain pipe
(1) into the larger hole in the base of the weir.
Ensure the rubber grommet is placed between
the glass and the connection.
2. Attach the lower drain pipe (2) to the male
thread beneath the aquarium. Ensure a rubber
grommet is in place beneath the glass. Do
NOT overtighten, hand tightened is sufficient.
3. Repeat step 1 and 2 with the return pipes
(5 & 6). Ensure rubber grommets are used
on both sides of the glass and the threaded
elbow at the top of the return pipe is facing
towards the front of the aquarium.
4. Attach the lower elbow (3) to the drain pipe
(2). The elbow should be facing the lower
1
2
3
7
4
5
6
drain pipe so they can be connected using the
barrel union.
5. Attach the outlet (4) to the return pipe by
pushing into the elbow. The connection should
pass through a hole in the overflow grill.
6. Adjust the siphon break tube (7) so that it
points downward.
7. Ensure the hole in the top of the drain pipe
remains free, this will minimise noise caused
as water exits the aquarium.
8. Follow the instructions provided with the return
pump to install into the sump. Place the pump in
the position noted on page 3 and use the elbow
intake as described in the instructions. A short
length of flexible hose is provided to connect the
pump to the return pipe (3). A hose clamp is also
provided to secure the hose onto the pipe.
9. Unpack the filter sock and place in the
location shown on page 3.
10. Fill the aquarium with water such that the
water overflows into the sump and fills the
last section (where the return pump sits) to
the maximum operating water level mark.
When running, the water level should always
remain above the minimum operating water
level mark.
11. The heaters should be placed in the first
(left) section of the sump, immedately after
the filter sock where the water level is highest
and stays constant. Refer to location (2) noted
on page 3.
12. Place protein skimmer (sold separately)
inside the sump. Refer to location (3) illustrated
on page 3.
NOTE: Plumbers tape is supplied on threaded
fittings; it is highly recommended that this be
replaced if the plumbing is disconnected at
any time.
4
