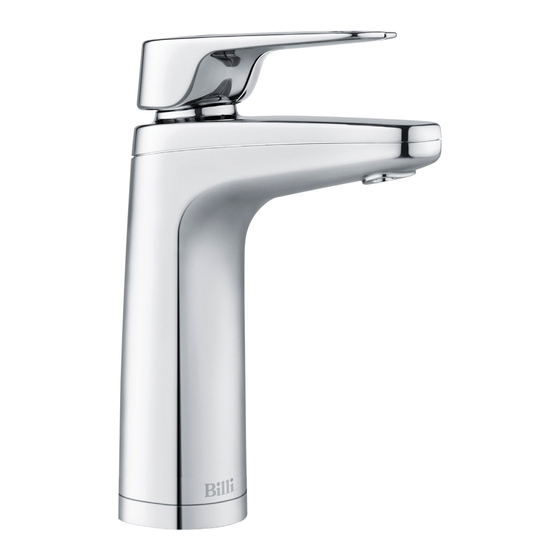
Billi B-4000 XL Посібник з монтажу - Сторінка 5
Переглянути онлайн або завантажити pdf Посібник з монтажу для Сантехнічний виріб Billi B-4000 XL. Billi B-4000 XL 8 сторінок.
Також для Billi B-4000 XL: Посібник користувача (16 сторінок)

Installing
underbench module.
1. Flush Water Supply
Flush water supply pipework before installing
the underbench unit by connecting 600mm
flexible braided hose to the supply tap and
running water into a bucket. Blockages/unit
malfunction caused by debris are not covered
under warranty.
2. Install Underbench Unit
Take care to observe minimum clearances.
Ensure there is adequate access to service
the unit, taking into account the tube lengths
and space available Refer Diagram 1, page 2.
3. Connect Dispenser Tubing
and Electrical Plug
IMPORTANT: Boiling outlet (red), vent tube
(grey) must not be kinked and must be installed
with a continual fall and no sag.
Connect all tubing and electrical plug as
shown in diagram 17 & 18.
Ensure correct orientation of dispenser
power plug before insertion. Trim tubes to
correct lengths using a sharp knife or plastic
tube cutter. Avoid leaving excess tubing which
will sag, trapping water. Fit spring clamps
supplied to retain silicone rubber tubing to
barbed fittings.
Commissioning.
Turn On the Water Supply
Turn on water supply and ensure that there are
no leaks. Remove front panel of unit and remove
packing foam from under filter canister. Ensure
filter canister is securely locked back into place.
Replace front panel.
Power On
When power is applied the system checks
the water level in the hot tank and if empty
(below the low level sensor) then the unit
will enter the boiling point calibration mode.
This will normally only occur the first time
a new system is turned on.
On power ON, if the hot tank level sensor
is above the low level sensor, the unit will
enter its normal operating mode at full power.
This will happen when the system has been
installed and used at least once.
IMPORTANT: On initial power up, leave the unit
for 10 minutes before attempting user setup.
Boiling Point Calibration
The hot tank will first fill to the height of the
low level sensor. The water is then heated until
it reaches boiling point. The unit will continue
to boil for up to 30 seconds while the
temperature sensor calibrates.
WARNING: Steam and small amounts of
hot water may be discharged from the taps
and vent during this period.
While calibration is underway the hot
water indicator (red) will double blink rapidly.
The hot water set point is calibrated 0.5°C
below the boiling point. Once calibrated,
the unit will resume normal operations
and the calibration data is saved.
The unit will not re-calibrate under normal
circumstances. If a repeated calibration is
required the following procedure should be
followed:
– turn the water supply off
– run the hot water until the hot tank is empty
– turn the power off for 5 seconds, then on again
– turn water supply on
– the unit will then re-calibrate its boiling point.
Re-check Connections for Leaks
Explain Operation to User
B-4000
power cord
flexible hose
Top View
dispenser
boiling
ambient
power
(red)
(blue)
cord
hot vent
(grey)
1/2" stop tap
(installed by plumber)
Diagram 17
water
supply
Diagram 18
5
