Billi B-5000 Sparkling Посібник з монтажу - Сторінка 5
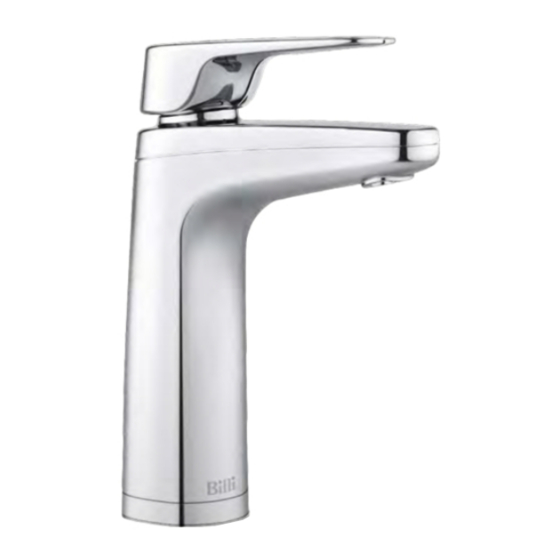
Переглянути онлайн або завантажити pdf Посібник з монтажу для Система водопостачання Billi B-5000 Sparkling. Billi B-5000 Sparkling 7 сторінок. Tap option xl
Також для Billi B-5000 Sparkling: Посібник з монтажу (4 сторінок), Посібник користувача (16 сторінок)
Installing
underbench modules.
1. Flush Water Supply
Flush water supply pipework before installing
the underbench unit by connecting 600mm
flexible braided hose to the supply tap and
running water into a bucket. Blockages/unit
malfunction caused by debris are not covered
under warranty.
2. Install Underbench Units
Take care to observe minimum clearances.
Ensure there is adequate access to service
the units, taking into account the tube lengths
and space available Refer Diagram 1, page 2.
3. Connect Components
IMPORTANT: Boiling outlet (red), vent tube (grey)
tube must not be kinked and must be installed
with a continual fall and no sag.
Connect all tubing and electrical plug
as shown in Diagrams 10 and 11.
Trim silicon tubes to correct lengths using
a sharp knife or plastic tube cutter. Avoid
leaving excess tubing which will sag, trapping
water. Fit supplied spring clamps to retain
silicone rubber tubing to barbed fittings.
Some tube connections are made using
push-fit connectors and should be trimmed
to correct lengths. Tubes should be cleanly
cut square using a sharp knife or plastic
tube cutter. Ensure that tube ends are round
and not flattened or kinked, then push into
connectors firmly until properly seated (to
release, press the outer ring in while pulling
gently on the tube). Minimising the tube
lengths will improve the performance of the
chilled and sparkling water.
—Boiling Water Module to Chilled Water Module
a) Connect one end of white hose provided
to the Boiling Water Module fitting labeled
"AMBIENT".
b) Connect the other end of the white hose to
the Chilled Water Module fitting labelled
"WATER SUPPLY INLET".
—Chilled Water Module to Sparkling Control
Box
a) Connect blue tube to Chilled Water Module
fiting labelled "CHILLED WATER OUT"
b) Connect other end of blue tube to Sparkling
Control Box fitting labelled 'CHILLED WATER
IN"
c) Connect white tube to Chilled Water Module
fitting labelled "SODA WATER OUT"
d) Connect other end of white tube to
Sparkling Control Box fitting labelled "SODA
WATER IN"
—Sparkling Control Box to Boiling Water
Module
a) Connect electrical lead from Sparkling
Control box to Boiling Water Module socket
labelled "DISPENSER POWER CORD"
—Dispenser to Boiling Water Module
a) Push red silicon tube onto barb on Boiling
Water Module labelled "BOILING (RED)" and
secure with spring clamp.
b) Push grey silicon tube onto barb on Boiling
Water Module labelled "VENT (GREY)" and
secure with spring clamp.
—Dispenser to Sparkling Control Box
a) Connect white hose from the dispenser to
the remaining empty fitting on the Sparkling
Control Box.
b) Connect electrical lead from the dispenser to
the Sparkling Control Box electrical socket.
—CO2 Cylinder to Chilled Water Module
a) Push the 90° John Guest elbow on to the
CO2 regulator.
b) Connect one end of white hose provided to
the John Guest elbow.
c) Connect the other end of the white hose to
the Chilled Water Module fitting labelled
"CO2 INLET".
d) Screw CO2 cylinder into CO2 regulator.
Some gas will escape during this process.
B-5000 Sparking Top View
boiling
(red)
Vent (grey tube)
Tap connector
Boiling (red tube)
Ambient water
AC
240V 10A
AC
Mains
240V 10A
water inlet
dispenser
ambient
power
(blue)
cord
water
supply
hot vent
(grey)
Diagram 10
Chilled or Sparkling water
Solenoid
& Control Box
Chilled water
Sparkling water
CO
2
Diagram 11
5