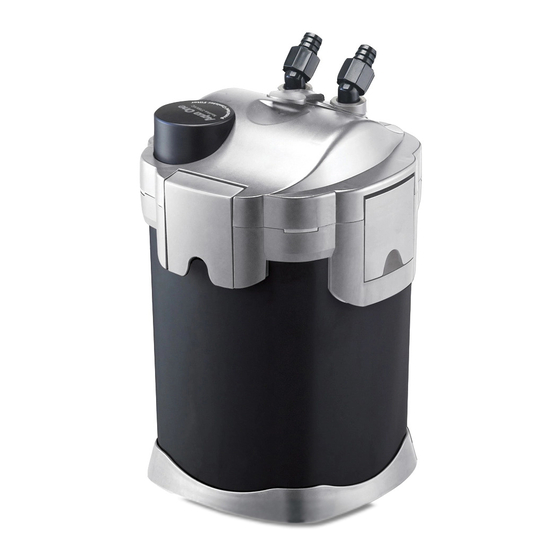
Aqua One Nautilus 2700UVC Інструкції з техніки безпеки - Сторінка 7
Переглянути онлайн або завантажити pdf Інструкції з техніки безпеки для Системи фільтрації води Aqua One Nautilus 2700UVC. Aqua One Nautilus 2700UVC 16 сторінок. Canister filter

- 1. Table of Contents
- 2. Important Safeguards
- 3. Before First Use/Preparation
- 4. Know Your Filter
- 5. Recommended Filter Media Set up
- 6. Set up Instructions
- 7. Installation
- 8. Installation
- 9. Starting Your Filter
- 10. Cleaning Your Filter
- 11. Cleaning Your Filter
- 12. Changing Your UV Lamp
- 13. Trouble Shooting
- 14. Specifications
- 15. Installation
GB
Set Up Instructions
8. Prior to installing the head unit, turn it over, remove
the impeller cover extension pipe so you can see the
impeller. Make certain that the power cord is not wet
and plug it into the receptacle. Turn it on and ensure
the impeller is spinning and that the UV-C works. You
should be able to hear the impeller spinning and see
the blue light from the UV-C. DO NOT LOOK AT THE
BLUE LIGHT FROM THE UV-C FOR MORE THAN A
SECOND. DO NOT OPERATE THE UV WITH OUT
WATER FOR MORE THAN A FEW SECONDS. The
switch for the UV-C is located at the top of the head unit
on the side behind the frosted plastic cap. When the UV
light is on the green LED located next to the switch will
illuminate, if the UV lamp stops working for whatever
reason the LED will turn off. If the impeller does not
turn or the UV-C does not light up see Cleaning Your
Filter for instructions on how to assess the impeller and
UV Lamp. Fig 7
Impeller
10. NOTE: The O-ring needs to be put into position
before the unit is set up. Lubricate it with an aquarium
safe lubricant.
This lubrication allows the head unit to go on easily,
ensures a good water tight seal and makes removing
the head unit easier when maintenance is required. IT
IS VERY IMPORTANT THAT ANY TIME THE FILTER
IS DISASSEMBLED THE O-RING IS LUBRICATED
USING AN AQUARIUM SAFE LUBRICANT. Fig 8
Place the Impeller cover extension pipe pipe back into
position before placing the head back on the canister.
O-ring
11. Place the head unit back on top of the canister
body; ensure the power cord is not jammed between
filter head and the canister body. Press down gently to
the point where the head will not go any further.
12. Close the 2 handles. Do not force the unit together!
If it feels tight do not apply any excess pressure to
close it simply, remove the head unit and filter baskets
and try again. Fig 9
13. Latch and secure the clips. The filter unit is now
ready to be installed. Fig 10
UV-C
Switch
Fig 7
Fig 8
8
Fig 7
Fig 2
