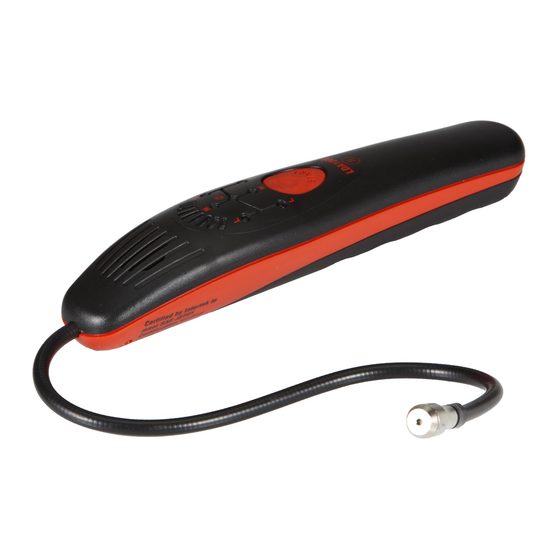
CPS Pro-Set LDA1000H Посібник з експлуатації - Сторінка 8
Переглянути онлайн або завантажити pdf Посібник з експлуатації для Вимірювальні прилади CPS Pro-Set LDA1000H. CPS Pro-Set LDA1000H 12 сторінок. Refrigerant leak detector
Також для CPS Pro-Set LDA1000H: Посібник з експлуатації (12 сторінок), Посібник з експлуатації (14 сторінок)

OPERATION
With a sensor life of more than 500 hours and a battery life of
over 50 hours, very little maintenance is required to keep the
LDA1000H in top operating conditions. Below are the proper
procedures to follow when changing batteries and sensors.
Low battery indication:
When the batteries reach approximately 10% of capacity, the
green LED next to the symbol (
batteries, slide the bottom cover of the instrument backwards to
reveal the battery compartment. Replace the batteries with a new
set of (3) size "C" alkaline batteries.
Changing the E_MOS™ sensor:
See page 9 for the sensor replacement diagram.
• Remove the E_MOS™ sensor housing tip by turning it
counterclockwise.
• With a pair of tweezers or a needle nose pair of pliers gently
pull the E_MOS™ sensor away from its socket.
• Inspect the inside of the sensor housing and verify that there
is an O-ring over the socket and that no dirt or debris is
present. If there is dirt or debris, gently pull the O-ring out, use
a dry cotton swab to loosen the dirt and blow with compressed
air. Clean the O-ring and replace.
Do not cover the O-ring with Vaseline or any other
lubricant.
• Install the replacement E-MOS sensor. Orient the tab on the
edge of the sensor so it coincides with the slot on the side of
the housing and gently push the
Do not use silicone based hand cleaners or lotions prior
to installing a new sensor as this will irreversibly affect
the operation of the sensor.
• Remove and discard the filter inside the sensor housing's tip.
Replace with a new filter disk, making sure no dirt, water, oil
or any other substance comes in contact with filter. It is
recommended to first clean the sensor housing's tip with
alcohol or some other solvent which does not contain oil or
silicone. Use a cotton swab to first loosen any debris from the
tip's opening. Finish by blowing with dry, oil-free, compressed
air. Re-attach the tip to the sensor housing, screwing it finger
tight.
Do not use acetone or silicone based solvents, lotions or
un-cured adhesives while handling the E_MOS™ sensor.
Maintenance
) will turn off. To replace the
8
