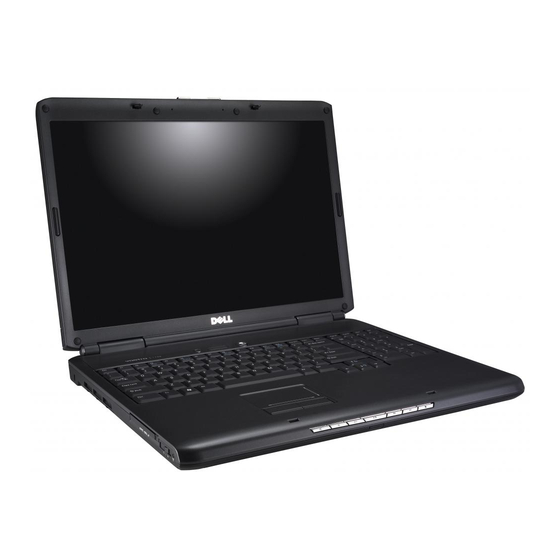
Dell 1700 - Personal Laser Printer B/W Посібник користувача - Сторінка 17
Переглянути онлайн або завантажити pdf Посібник користувача для Ноутбук Dell 1700 - Personal Laser Printer B/W. Dell 1700 - Personal Laser Printer B/W 24 сторінки. Dell vostro setting up
Також для Dell 1700 - Personal Laser Printer B/W: Посібник з швидкого налаштування (2 сторінок), Швидке налаштування (2 сторінок), Особливості (2 сторінок), Посібник користувача (50 сторінок)

1700FP-E.book Page 11 Monday, November 2, 1998 4:51 PM
Table 1-1. Menu adjustments (continued)
Icon
i
Settings and
Description
Sub-menus
Menu Display
The OSM stays active for as long as it is in use. The
Time:
Menu Display Time sets the length of time the OSM
•
5
will remain active after the last time you pushed a
•
10
button.
•
20
•
200
Menu Position:
Select this icon to change the position of the OSM on
•
Horizontal
the screen. The "–" and "+" buttons move the OSM.
•
Vertical
Select the Horizontal function to move the OSM to the
left or right; select the Vertical function to move the
OSM up or down.
Image Size:
If you computer or video board supplies a signal rate
•
Normal
and addressability lower than 1280 x 1024, this FPD
•
Expand 1
monitor provides a scaling processor that can expand
•
Expand 2
the addressability up to 1280 x 1024. Select the Normal
setting to use the normal size viewing area for the
current signal. Select Expand 1 to expand the viewing
area to the full width of the monitor screen. Select
Expand 2 to extend the viewing area both horizontally
and vertically to the full size of the monitor screen.
Display Mode:
Select this icon to view the current user mode. This
screen only displays information; you cannot select a
new setting.
Image Effect:
Select this icon to optimize the display for the type of
•
Scaling
software you are using.
•
Filtering
Scaling smooths an image which may help the eye to
see more detail. Filtering sharpens text by adding a fine,
contrasting line around each character so that it is easier
to recognize.
®
Dell
1700 Flat Panel Monitor User's Guide
1-11
