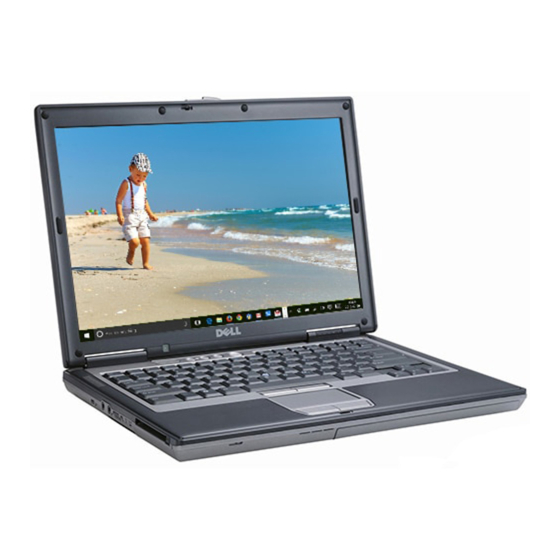
Dell vostro Навчання - Сторінка 28
Переглянути онлайн або завантажити pdf Навчання для Ноутбук Dell vostro. Dell vostro 43 сторінки. Dell computer
Також для Dell vostro: Посібник з налаштування (2 сторінок)

Power LED States
The first step in troubleshooting any failed system process is to determine the stage at which the
process failed.
To verify power, check the power LED first.
The power LED for a normal working system is usually steady
green (it is blue in the Latitude E‐Series), although some
notebooks do not illuminate the power LED after POST. If the
power LED is off or blinking, press the power button and wait for
a few seconds. Then note the power LED state and look for
system activity to determine if the notebook is hibernating or in standby mode.
If the system is hibernating, the LED may be off, or it may blink. Pressing the power button should cause
the notebook to "wake up" and resume where you left off.
For the D Series If the system is connected to an electrical outlet, the battery light operates as follows:
•
Solid Green – The battery is charging.
•
Flashing Green – The battery is almost fully charged.
For the E Series if the system is connected to an electrical outlet, the battery light operates as follows:
•
Blue light off — Battery in full charge mode with AC adapter present.
•
Blue light on —
Battery in charge mode with AC adapter present.
If the system is running on a battery, the battery light operates as follows:
•
Off – The battery is adequately charged (or the system is turned off).
•
Flashing Orange – The battery charge is low.
•
Solid Orange – the battery charge is critically low.
Settings for power management can be configured in the BIOS.
Troubleshooting the AC Adapter
After checking the power LED, check the AC adapter. The AC adapter usually consists of two pieces: a
power cord and the transformer, which is colloquially called the "brick." Some AC adapters combine
both of these components into a single unit.
The 90‐watt adapter is also used while the system is docked in its media base. A 65‐watt or greater AC
adapter is required to charge the battery slice.
Troubleshooting steps include:
28 | P a g e
