Allied Telesis AT-x230-10GP Посібник з монтажу - Сторінка 10
Переглянути онлайн або завантажити pdf Посібник з монтажу для Мережеве обладнання Allied Telesis AT-x230-10GP. Allied Telesis AT-x230-10GP 14 сторінок. Rack mount installation guide

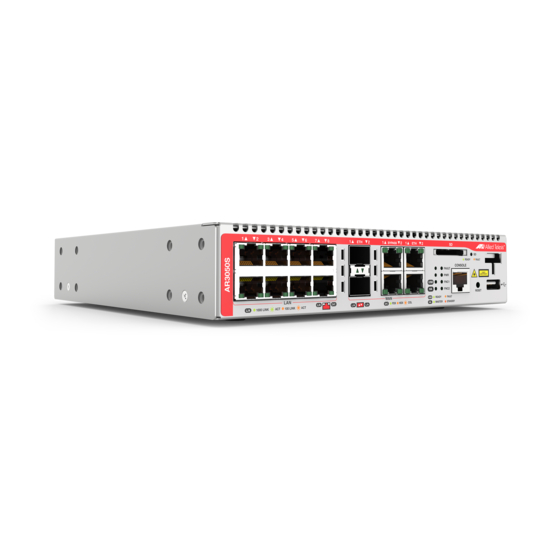
AT-x230-10GP, AT-AR3050S and AT-AR4050S Rack Mount Installation Guide
How to install the
device
10
You will need an AT-RKMT-J15 rack mount kit to install one or two side-
by-side devices in a 19-inch equipment rack. The rack mount kit can be
purchased from your Allied Telesis dealer.
To install a device in the equipment rack, follow these steps:
1. If rubber feet are attached to the base of the device, place the unit
upside down on a level, secure surface.
2. Remove the rubber feet with a screwdriver (Figure 1).
F
1. R
IGURE
EMOVING THE RUBBER FEET FROM THE DEVICE
3. Turn the device back over.
4. Installing the tray chassis in a 19-inch equipment rack (Figure 2)
Mount the tray chassis to a desired location in a 19-inch equipment
rack using four equipment rack screws. The rack screws are supplied
with the equipment rack.
Note
At the time of installation, do not loosen the tray fixing screws.
