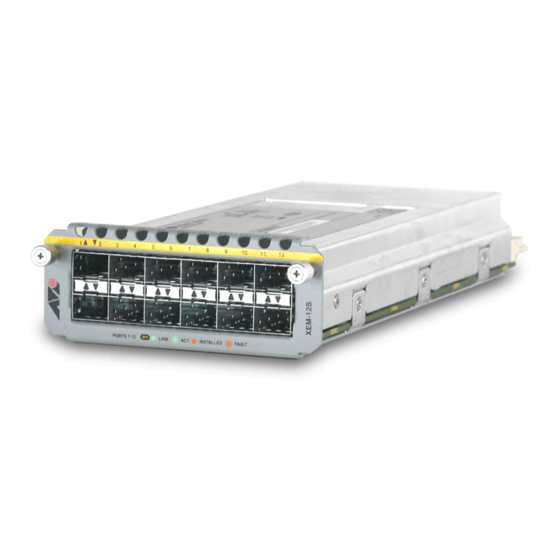
Allied Telesis XEM-12T Посібник з монтажу - Сторінка 14
Переглянути онлайн або завантажити pdf Посібник з монтажу для Мережеве обладнання Allied Telesis XEM-12T. Allied Telesis XEM-12T 17 сторінок. Expansion module
Також для Allied Telesis XEM-12T: Посібник з монтажу (11 сторінок)

Installing or replacing XEMs without hot swap support
Follow this procedure to:
■
install a XEM, except the XEM-STK, in a switch running the AlliedWare
operating system
■
install a XEM-STK in a switch running the AlliedWare Plus operating system
■
install a XEM without hot swapping in a switch running the AlliedWare Plus
operating system
To install or replace a XEM:
1.
If you are replacing a XEM, first save the switch configuration.
On switches running the AlliedWare operating system, use the commands:
create config=<filename>.cfg
set config=<filename>.cfg
On switches running the AlliedWare Plus operating system, use the
commands:
awplus>enable
awplus#copy running-config startup-config
2.
If connected, disconnect the switch from its redundant power supply.
3.
Disconnect the switch from its AC or DC power supply.
4.
If you are replacing an existing XEM, disconnect any data cables.
5.
Loosen the thumbscrews on the faceplate or existing XEM, and remove it.
Keep the faceplate for future use. If you remove a XEM, cover the bay with
the faceplate to prevent dust and debris from entering it and to maintain
proper airflow.
6.
Carefully slide the new XEM into the empty bay until you feel it engage the
rear plug.
7.
Secure the XEM by tightening the thumbscrews.
8.
Apply power to the switch by re-attaching the power cord.
9.
If you disconnected a redundant power supply, reconnect it.
10. Restart the switch and verify the installation.
If you have a terminal connected to the asyn0 port, any error message is
displayed during startup self-tests.
Installation Guide
13
