Chris King Classic Посібник - Сторінка 12
Переглянути онлайн або завантажити pdf Посібник для Аксесуари для велосипедів Chris King Classic. Chris King Classic 20 сторінок. Hub
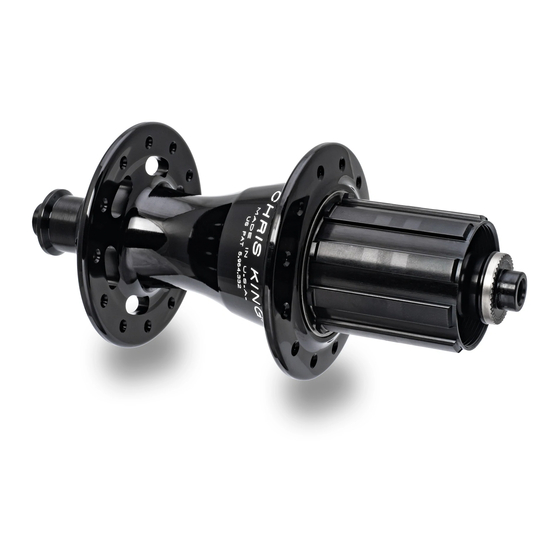
Adjustment of one piece axle on rear Classic hub
Figure 8)
The one piece rear axle assembly features an adjusting clamp that minimizes over tightening
or over preloading of the bearings. Adjustment may be accomplished while axle is attached
to bicycle frame.
1. Loosen the adjusting clamp hex bolt using a 2.5mm hex wrench.
2. Hand tighten the adjusting clamp onto the axle until it stops against the bearing. If
adjusting clamp is diffi cult to move, insert a 2.5mm hex wrench into "helper hole"
on adjusting clamp adjacent to 2.5mm hex bolt. Use the hex key as a lever to turn
adjusting clamp.
3. Once the adjusting clamp is in position, use a 2.5mm hex wrench to tighten the
adjusting clamp hex bolt to 10 inch-pounds.
4. Check for play or binding and readjust if needed.
Note: Correct adjustment of the rear hub is necessary for proper engagement of the
Note: Correct adjustment of the rear hub is necessary for proper engagement of the
RingDrive. If the hub is run loose, the RingDrive may not engage properly and could lead
RingDrive. If the hub is run loose, the RingDrive may not engage properly and could lead
to permanent damage of the internal parts.
to permanent damage of the internal parts.
Cogs
(see Figure 9)
All Chris King hubs use a spline-style cog mounting system. Our driveshells and
Cog Lock Rings have been designed to accept our premium quality cogs. Our
stainless steel cogs are available in sizes from 12t to 20t. Cogs can easily be
removed and changed using standard cassette tools.
10
Chain
Chris King cogs are designed to be used with an 8-speed or 3/32" chain.
Chain line
Setting the cog to the proper chain line is essential to achieving the best perfor-
mance from a bicycle's drivetrain. Our Single Speed rear hub allows for center-to-cog chain
lines of 45, 50 and 55mm. Our BMX rear hub features a nonadjustable fi xed chain line. To
determine the proper chain line on a single speed bicycle with 130 or 135mm rear dropout
spacing, follow these instructions:
1. Determine the front chain ring position by measuring the distance from the exact
middle of the bottom bracket shell to the front chainring.
2. Locate the middle point of the rear Classic Single Speed hub by measuring 67.5mm
from the inside face of the rear drop out to the middle of the hub.
3. From that middle point, use the front chain ring position measurement found in
step 1, and measure from the hub center out to the driveshell.
4. This point on the driveshell where the rear single speed cog should be located to
obtain the proper center-to-cog chainline.
5. Use the Single Speed Cog Spacers and Lock Ring that is included with the hub
to secure the cog in the proper position. Proceed to "Cog Installation", below.
Cog installation
1. Slide cog onto driveshell spline. Cogs are symmetrical, and can be installed either
side out. Install Single Speed Cog Spacers, making sure cog is set at the proper
chain line. To determine proper chain line, see "Chain Line" page 10.
(see
Cog
Figure 9