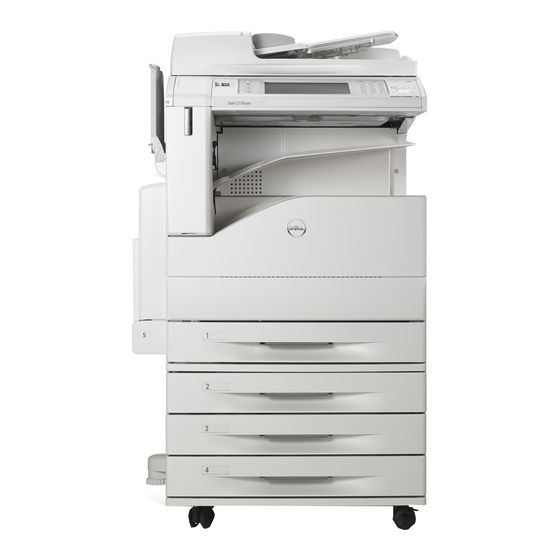
Dell C5765DN Додатковий посібник - Сторінка 9
Переглянути онлайн або завантажити pdf Додатковий посібник для Принтер Dell C5765DN. Dell C5765DN 27 сторінок. Color laser multifunction printer with high capacity feeder, blue angel information (ral-uz171)
Також для Dell C5765DN: Посібник (1 сторінок), Посібник з шаблонів (14 сторінок)

Important
• While you are using Dell Printer Configuration Web Tool, do not access other web
sites, and do not use other applications.
• When you change [Authentication Type] or prior to disposing the machine, initialize
the hard disk by resetting [Data Encryption] and changing [encryption key].
• For preventing SSL vulnerability, set the machine address in the proxy exclusion list of
browser.
With this setting, you can prevent man-in-the-middle attack because the machine
will communicate directly with the remote browser bypassing the proxy server.
Confirm the Machine ROM Version and the System Clock
Before making initial settings, the System Administrator (Machine Administrator)
needs to check the machine ROM version and system clock.
To check from the Control Panel
1
Press the <Machine Status> button on the control panel.
2
Select [Software Version] on the [Machine Information] screen.
You can identify the software versions of the components of the machine on the
screen.
To check from the Print Report
1
Press the <Machine Status> button on the control panel.
2
Select [Print Reports] on the [Machine Information] screen.
3
Select [Printer Reports].
4
Select [Configuration Report].
5
Press the <Start> button on the control panel.
To check the System Clock
1
Press the <Log In/Out> button on the control panel.
2
Enter the System Administrator's ID and the passcode if prompted.
3
Select [Enter].
4
Select [Tools].
5
Select [System Settings].
6
Select [Common Service Settings].
7
Select [Machine Clock/Timers].
If you need to change the time and date, follow the remaining steps:
8
Select the required option.
9
Select [Change Settings].
10
Change the required setting.
Before Using the Security Features
9
