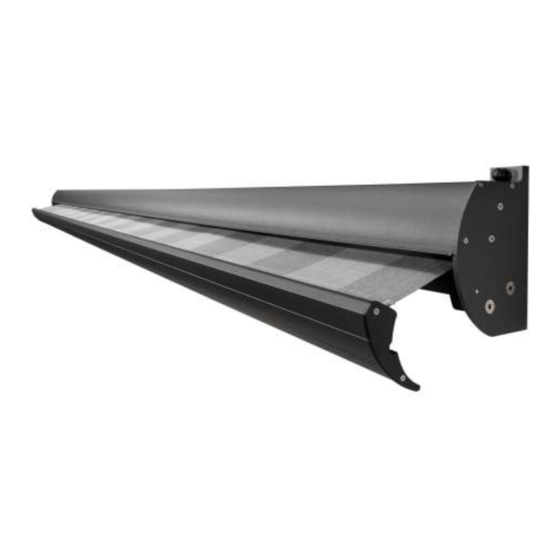
AVZ Picca Інструкція з монтажу - Сторінка 4
Переглянути онлайн або завантажити pdf Інструкція з монтажу для Аксесуари AVZ Picca. AVZ Picca 7 сторінок. Folding arm awning

Assembly instructions Picca® folding arm cassette
1.
Cut the length material to the correct size (see cut sizes).
NB: Make sure to cut the top cover at right angles on both sides in order to keep the
top cover supports parallel. If the top cover supports are not parallel, the arms will not
hang straight. The awning may not close properly as a result.
2.
File round the groove of the steel roller so that the fabric can easily be pulled in.
3.
Wind the fabric bottomwise around the roller and place fabric clamping pads.
4.
Insert the roller bung with bearing into the non-control side of the roller.
5.
Place a motor or roller bung into the control side of the roller.
6.
Correctly position the left and right arms on the table, making sure that the hexagonal
socket head screw that is used for adjustment purposes is at the top.
7.
Fasten the top cover supports to the arms.
8.
Fasten a bearing pin with plastic washer on the bearing side of the top cover support.
9.
On the control side of the top cover support, fasten either the motor bracket or the gear
box with spacer for the gear box and spacer for the runner.
10.
Fasten the runner for the front profile on both sides.
11.
File round the groove of the front profile (and lubricate it with silicone spray).
12.
Slide the front profile along the fabric and fit fabric stops.
13.
Loosen the bolts of the front profile connector and slide the arms into the front profile.
14.
Attach the front frame covers.
15.
Assemble the top cover and top cover supports. The bearing pin drops into the bearing
plug, the gear box drops into the roller bung or the motor falls into the motor bracket.
NB: The setting knobs of the motor must be directed diagonally to the front or bottom,
so that they can be accessed when the top cover is placed.
16.
Place the top cover and attach it to the top cover supports.
17.
Lay the awning upside down on blocks and centre the front profile.
18.
Fasten the front profile connectors uniformly using hexagonal setting screws.
TIP: For optimal closure of the front profile allow the knee joints of the folding arms to
fall against the front profile in nearly closed position. This prevents the front profile from
curving inward.
19.
Set the front profile so that it follows the contours of the top cover support and fasten
provisionally (further adjustment will follow after placement of the awning).
20.
Clean and package the awning.
Picca EN 20-03-2017
page 4
