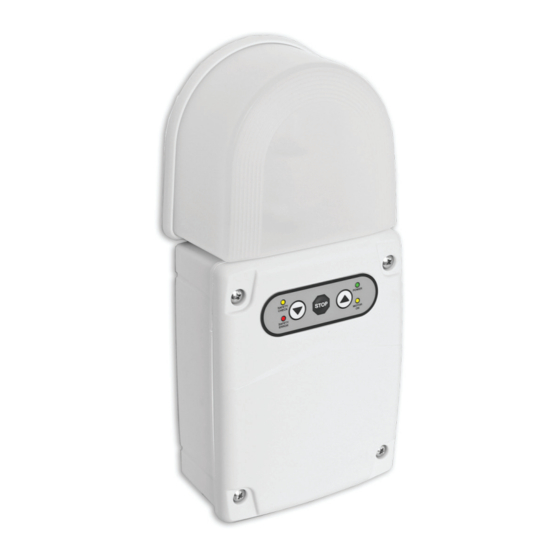
Allmatic BAXS900L Посібник - Сторінка 6
Переглянути онлайн або завантажити pdf Посібник для Блок управління Allmatic BAXS900L. Allmatic BAXS900L 13 сторінок. For rolling shutters

5.3) PROGRAMMING A NEW TRANSMITTER USING AN ALREADY LINKED TRANSMITTER
WARNING! If the hidden button is pressed for more than 1 second, ALL associated transmitters can be deleted.
1.
Position a few meters from the control panel, within reach of the radio receiver integrated to it.
2.
Press and drop the hidden button on the already stored transmitter, located in the small hole at the bottom right of TECH3
PLUS and at the bottom left of B.RO 2WN, see figures below.
3.
The control panel will begin to emit intermittent acoustic signals to indicate the start of programming mode.
4.
Learn the new transmitter by repeating steps 3 to 6 of the previous paragraphs (5.1 and 5.2).
WARNING! Pressing the hidden button of an already stored transmitter is equivalent to pressing the
learning button "RADIO LEARN", it is therefore necessary to be within the range of the control unit to
activate the radio memory.
6. TOTAL DELETION OF RADIO MEMORY, DELETION OF ALL TRANSMITTERS
1.
Switch off power to the BAXS900.
2.
Press and hold the "RADIO LEARN" button.
3.
Turn on power to the control unit BAXS900 always holding down the key "RADIO LEARN", never release it.
4.
The control panel emits a sequence of acoustic signals indicating the current cancellation.
5.
Once the continuous beep has finished, release the "RADIO LEARN" button.
6.
Radio memory has been erased completely, confirmation is by means of two close acoustic signals.
7. ASSEMBLY INSTRUCTIONS
To fix the center to the wall see the dimensions with the various drilling distances (Fig. 9) and the correct fixing points in the four
corners of the box (Fig. 10).
114.00
6 / 12
Pressing the hidden
button of an already
stored transmitter
activates the memory
of the radio receiver.
Pressing the hidden
button is equivalent to
pressing the "LEARN
RADIO" button on board
the control panel.
Fig. 9
Press in sequence the
buttons of the new
transmitter, TECH3
PLUS or B.RO2WN, see
previous paragraph.
Fig. 10
6-1622623 rev. 3
