Miele PUR 68 W Інструкція з експлуатації та монтажу - Сторінка 11

Переглянути онлайн або завантажити pdf Інструкція з експлуатації та монтажу для Вентиляційна витяжка Miele PUR 68 W. Miele PUR 68 W 40 сторінок. Ventilation system
Також для Miele PUR 68 W: Інструкція з експлуатації та монтажу (40 сторінок), Інструкція з експлуатації та монтажу (40 сторінок), Інструкція з експлуатації та монтажу (40 сторінок), Інструкція з експлуатації та монтажу (36 сторінок), Інструкція з експлуатації та монтажу (40 сторінок)
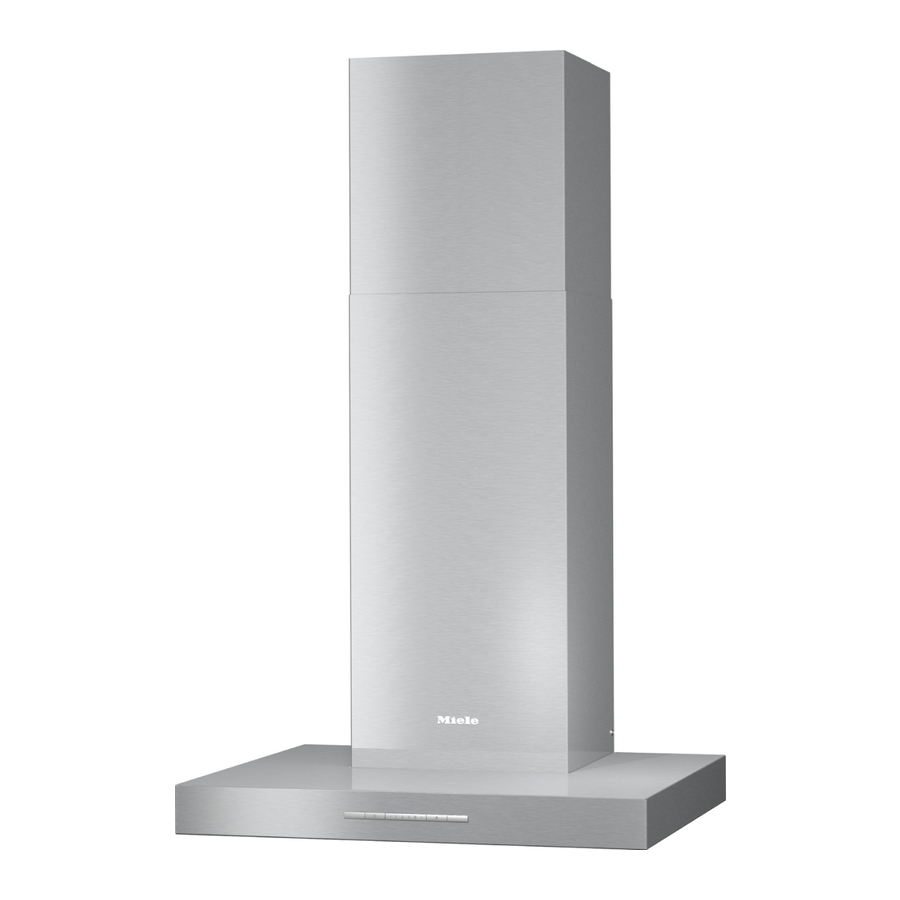
Miele PUR 68 W Інструкція з експлуатації та монтажу
Do not use the cooker hood without the filters in place. This way
you will avoid the risk of grease and dirt getting into the appliance
and hindering its smooth operation.
The cooker hood can get very hot during cooking due to heat
rising from the hob.
Do not touch the housing or the grease filters until the cooker hood
has cooled down.
This cooker hood is not suitable for placing objects on.
Proper installation
Refer to the cooker or hob manufacturer's instructions as to
whether a cooker hood may be operated above the cooker/hob.
Safety regulations prohibit the fitting of a cooker hood over solid
fuel stoves.
An insufficient safety distance between the hob and the cooker
hood can result in damage to the cooker hood.
The minimum safety distances between the top of the hob and the
bottom of the cooker hood given in the "Installation" section of this
manual must be observed, unless the hob manufacturer states that a
greater safety distance is required.
If more than one cooking appliance is fitted beneath the cooker
hood, and they have different minimum safety distances to the
cooker hood, select the greater distance.
The information provided in "Installation" must be observed when
fixing the ventilation hood.
Components can have sharp edges which may cause injury.
Wear gloves to protect your hands from being cut.
Exhaust ducting must be of non-inflammable material. Suitable
material is available from Miele specialist dealers or the Miele Spares
Dept.
Warning and Safety instructions
11