HP 340 Посібник користувача - Сторінка 7
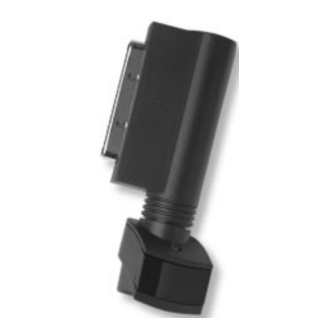
Переглянути онлайн або завантажити pdf Посібник користувача для Робочий стіл HP 340. HP 340 44 сторінки. Infrared adapter for deskjet 340 printer

Note:
• If you are installing the JetEye Infrared Driver
for HP OmniBook 300, 425, 430, 530, 600, 600C, or
600CT, select COM3 as the infrared port, IRQ10 as
the interrupt request level, and 3E8 as the I/O
address. (COM2 is the default port for PCMCIA).
• If you are installing the JetEye Infrared Driver
for HP OmniBook 4000 or 5000, select COM2 as
the infrared port, IRQ3 as the interrupt request
level, and 2E8 as the I/O address.
2. Double-click on the Control Panel icon. Then double-
click on the Ports icon. Select the physical IR COM
(the COM port which you found in Step 1), Click on
Settings... then Advanced...Check for the following
advanced settings; you will need these values when
you install the JetEye Infrared Driver:
• I/O Port Address
• IRQ
3. Insert the JetEye Infrared Driver diskette into the
floppy disk drive of your PC/notebook.
In Windows, select Run from the File menu in the
Windows Program Manager.
Type A:\JETEYE\INSTALL.EXE in the Command Line
box. Press ENTER and follow the instructions that
appear in the subsequent dialog boxes.
In DOS, type A:\JETEYE\INSTALDOS.EXE to start the
installation. Follow the instructions that appear.
4. When prompted that your config.sys and win.ini files
will be modified, click on OK to proceed.
5. A dialog box with Infrared Port Selections will appear.
Select the COM port value assigned to the infrared
port which you found in step 1.
6. Click on the Advanced button. Select the IRQ setting
that you found in step 2. Click on OK.
7. Select the value found in step 2 for the I/O port
address. Click on OK.
8. Set the HP DeskJet 340 Printer Properties.
In the Main menu, double-click on the Control Panel
icon. Double-click on the Printers icon. Select
HP DeskJet 340 Printer
Click on Connect. Select the port which your IR port
is assigned to by double-clicking it.
9. Reboot your PC/notebook. You are now ready to
print!
• 5 •
English
as the default printer.
