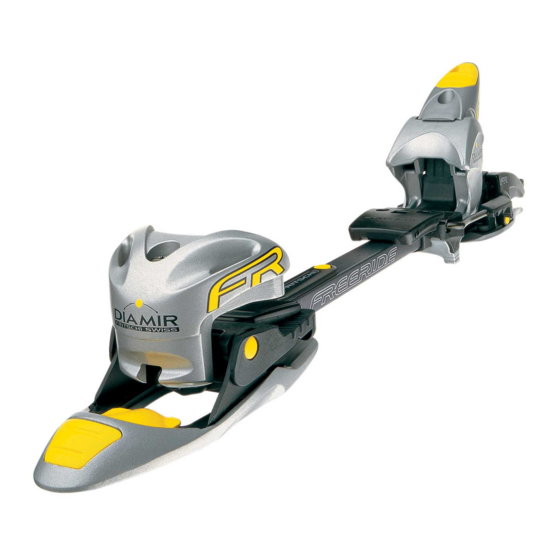
Diamir Eagle Experience Freeride Pro Посібник з експлуатації - Сторінка 14
Переглянути онлайн або завантажити pdf Посібник з експлуатації для Фітнес-обладнання Diamir Eagle Experience Freeride Pro. Diamir Eagle Experience Freeride Pro 20 сторінок. Eagle experience freeride pro

12 DIAMIr
Service Manual for specialist dealers
6.2
Locking the central rail
1. Set the central rail with the end piece (4) fully into the heel elevator.
2. Check if the heel elevator (5) can be locked easily.
3. By pulling the release lever upwards (3) check if the system is locked correctly.
6.3
Step in and step out with the boot
1. Put the boot into the binding and check if the boot is well-centred in the toe piece (1) and the automatic heel release system (18).
2. Close the automatic heel release system until it audibly snaps in.
3. repeat procedure 2–3 times.
6.4
Function of the ski brake
By pushing down the ski brake (Picture 6.4 A) the arms of the ski brake should not touch the edges of the ski (Picture 6.4 B).
If they do (Picture 6.4 C), another wider ski brake has to be chosen according to chapter 4.1.
the ski brake must completely open in the release mode of the binding (Picture 6.4 D).
Picture 6.4 a
6.5
Dynamic travel
6.5.1 Lateral release
Move the boot by hand about 10 mm to each side and check if it moves back quickly and within +/–2 mm into its starting position
(DIN ISO 11088) (Picture 6.5 A).
Use a rubber hammer when checking higher DIN values (Picture 6.5 B).
6.5.2 Forward release
Put the boot into the binding. Push the release lever (3) slightly down and pull forward the cuff of the boot at the same time.
Now let them go both and check if the automatic release system pulls back the boot quickly into its starting position (Picture 6.5 C).
Picture 6.5 a
Picture 6.4 B
Picture 6.5 B
Picture 6.4 c
Picture 6.5 c
Picture 6.4 D
www.diamir.com
