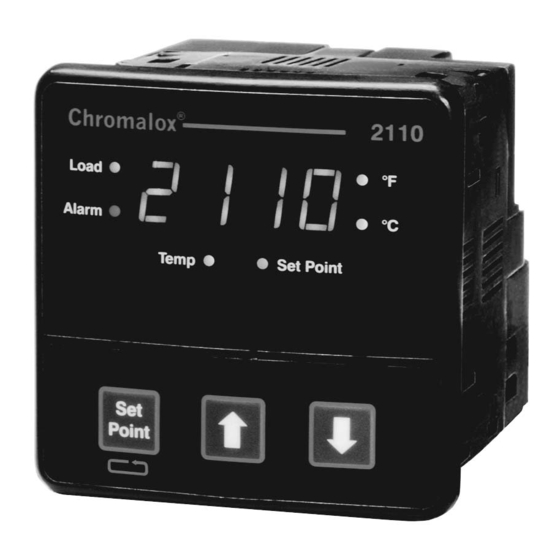
Chromalox 2110 Інструкція з експлуатації - Сторінка 16
Переглянути онлайн або завантажити pdf Інструкція з експлуатації для Регулятор температури Chromalox 2110. Chromalox 2110 20 сторінок.

7. Calibration
Calibration Offset
Calibration offset offsets the displayed value. Usually,
this option is used to match displays of two different
instruments that are measuring the same temperature,
but are displaying different temperatures due to differ-
ent thermocouple accuracy or placement of the ther-
mocouples. Caution is advised when adding an offset
to the display, since the actual sensed temperature will
not be displayed.
Calibration offset (coFF) is available in the configura-
tion mode, but only displays if the security lock (LocH)
is set to 736.
Factory Default Recovery
This option allow you to return the controller's configu-
ration parameters back to the factory default values
(except for the LocH menu). This parameter could be
used when moving a unit from one application to an-
other to give the operator an easy place to begin setup
of the unit.
Factory Default Recovery is performed in the Configu-
ration Mode, menu dFLt. The security lock (LocH) must
be set to 736 to perform a factory default recovery.
To reestablish the factory default values:
1. Disconnect load power.
2. In the Configuration Mode, set security level (LocH)
to 736.
3. Go to menu dFLt and press
automatically reset the values. When the display
cycles from rEdy to donE, the recovery is complete.
Calibration
The Chromalox 2110 Temperature Controller is factory
calibrated before shipment. Recalibration is not need-
ed when you receive and install the product. Periodic
calibration checks or adjustments should not be nec-
essary under normal operating conditions. Chromalox
recommends you recalibrate the controller if all instru-
ments in your facility are periodically calibrated to a
known standard.
The 2110 always retains the original factory calibration
values for the J, K, and RTD inputs. In an application,
only one of these sensor inputs will be used. The 2110
only can retain manual calibration for a single sensor.
Calibration Notes:
When calibrating the 2110
1. You must have a sensor simulator to calibrate the
2110 controller. Substitute a precision sensor simu-
lator (Thermocouple simulator or resistance simula-
tor box) for sensor inputs.
d
. The controller will
14
2. Disconnect load power to prevent damage to the
process or load.
3. Calibrate RTD inputs using copper (Cu) wire. Cali-
brate thermocouple inputs using thermocouple ex-
tension wire of the same type as the thermocouple
you are calibrating.
4. Allow the controller to warm up with the appropri-
ate sensor simulator connected for at least one hour
prior to calibration.
5. To access the calibration menu, you need level C
(736) security.
Sensor Calibration:
1. Set the 2110 selection switch to RTD or TC. If TC is
selected, then set the selection switch to J or K.
2. Connect the sensor simulator to the sensor input
terminals.
3. Set the simulator to the low value of the sensor se-
lected J TC (-100°F), K TC (-100°F), RTD (-200°F or
48.46W).
4. Go to the CALS parameter on the 2110. The display
will toggle between CALS and inLo.
5. Wait 30 seconds for the electronics to fully stabilize.
d
Press
. Dashes will appear in the display while the
controller calibrates the low end of span.
6. When the controller prompts inHi in the display, ad-
just the sensor simulator to the high end of the se-
lected sensor span.
J TC (1400°F), K TC (2400°F), RTD (1000°F or
293.49W).
7. Wait 30 seconds for the electronics to fully stabilize.
d
Press
. Dashes will appear in the display while the
controller calibrates the high end of span. When fin-
ished, the controller will display donE.
8. Calibration is complete.
Factory Calibration Recovery
This procedure allows you to return the controller to its
factory calibration settings in the event it is severely out
of calibration due to poor technique or unauthorized
calibration.
1. Disconnect load power.
2. Cycle the sensor selection switch twice from its
original position (TC or RTD) to the opposite posi-
tion (RTD or TC) and back to its original position.
This brings back the factory calibration and deletes
the manual calibration settings.
